
New Minimal Desk Setup for 2023 ft. Omnidesk
Introduction:
For as long as I can remember I’ve had a passion for watching desk setup videos and for the last 10 years, I’ve been putting together workspaces of my own, where I’ve gone from studying in high school, to running mobile gaming YouTube channel, to desk iterations throughout my time studying at university, all the way up until recent additions where I’ve built and share my own custom desk builds. Since then, by probably watching more desk setup videos and office tours compared to any other form of content on YouTube for the past year, I was eager to create a space that not only inspired me to create wonderful things in, but also be highly functional, organised and most importantly, look beautiful.
So with a bit of planning, some help from incredible brands and people, I begun transforming my current and old office space, into what it is today, ready for whatever I create for tomorrow.
Part 1: The Desk
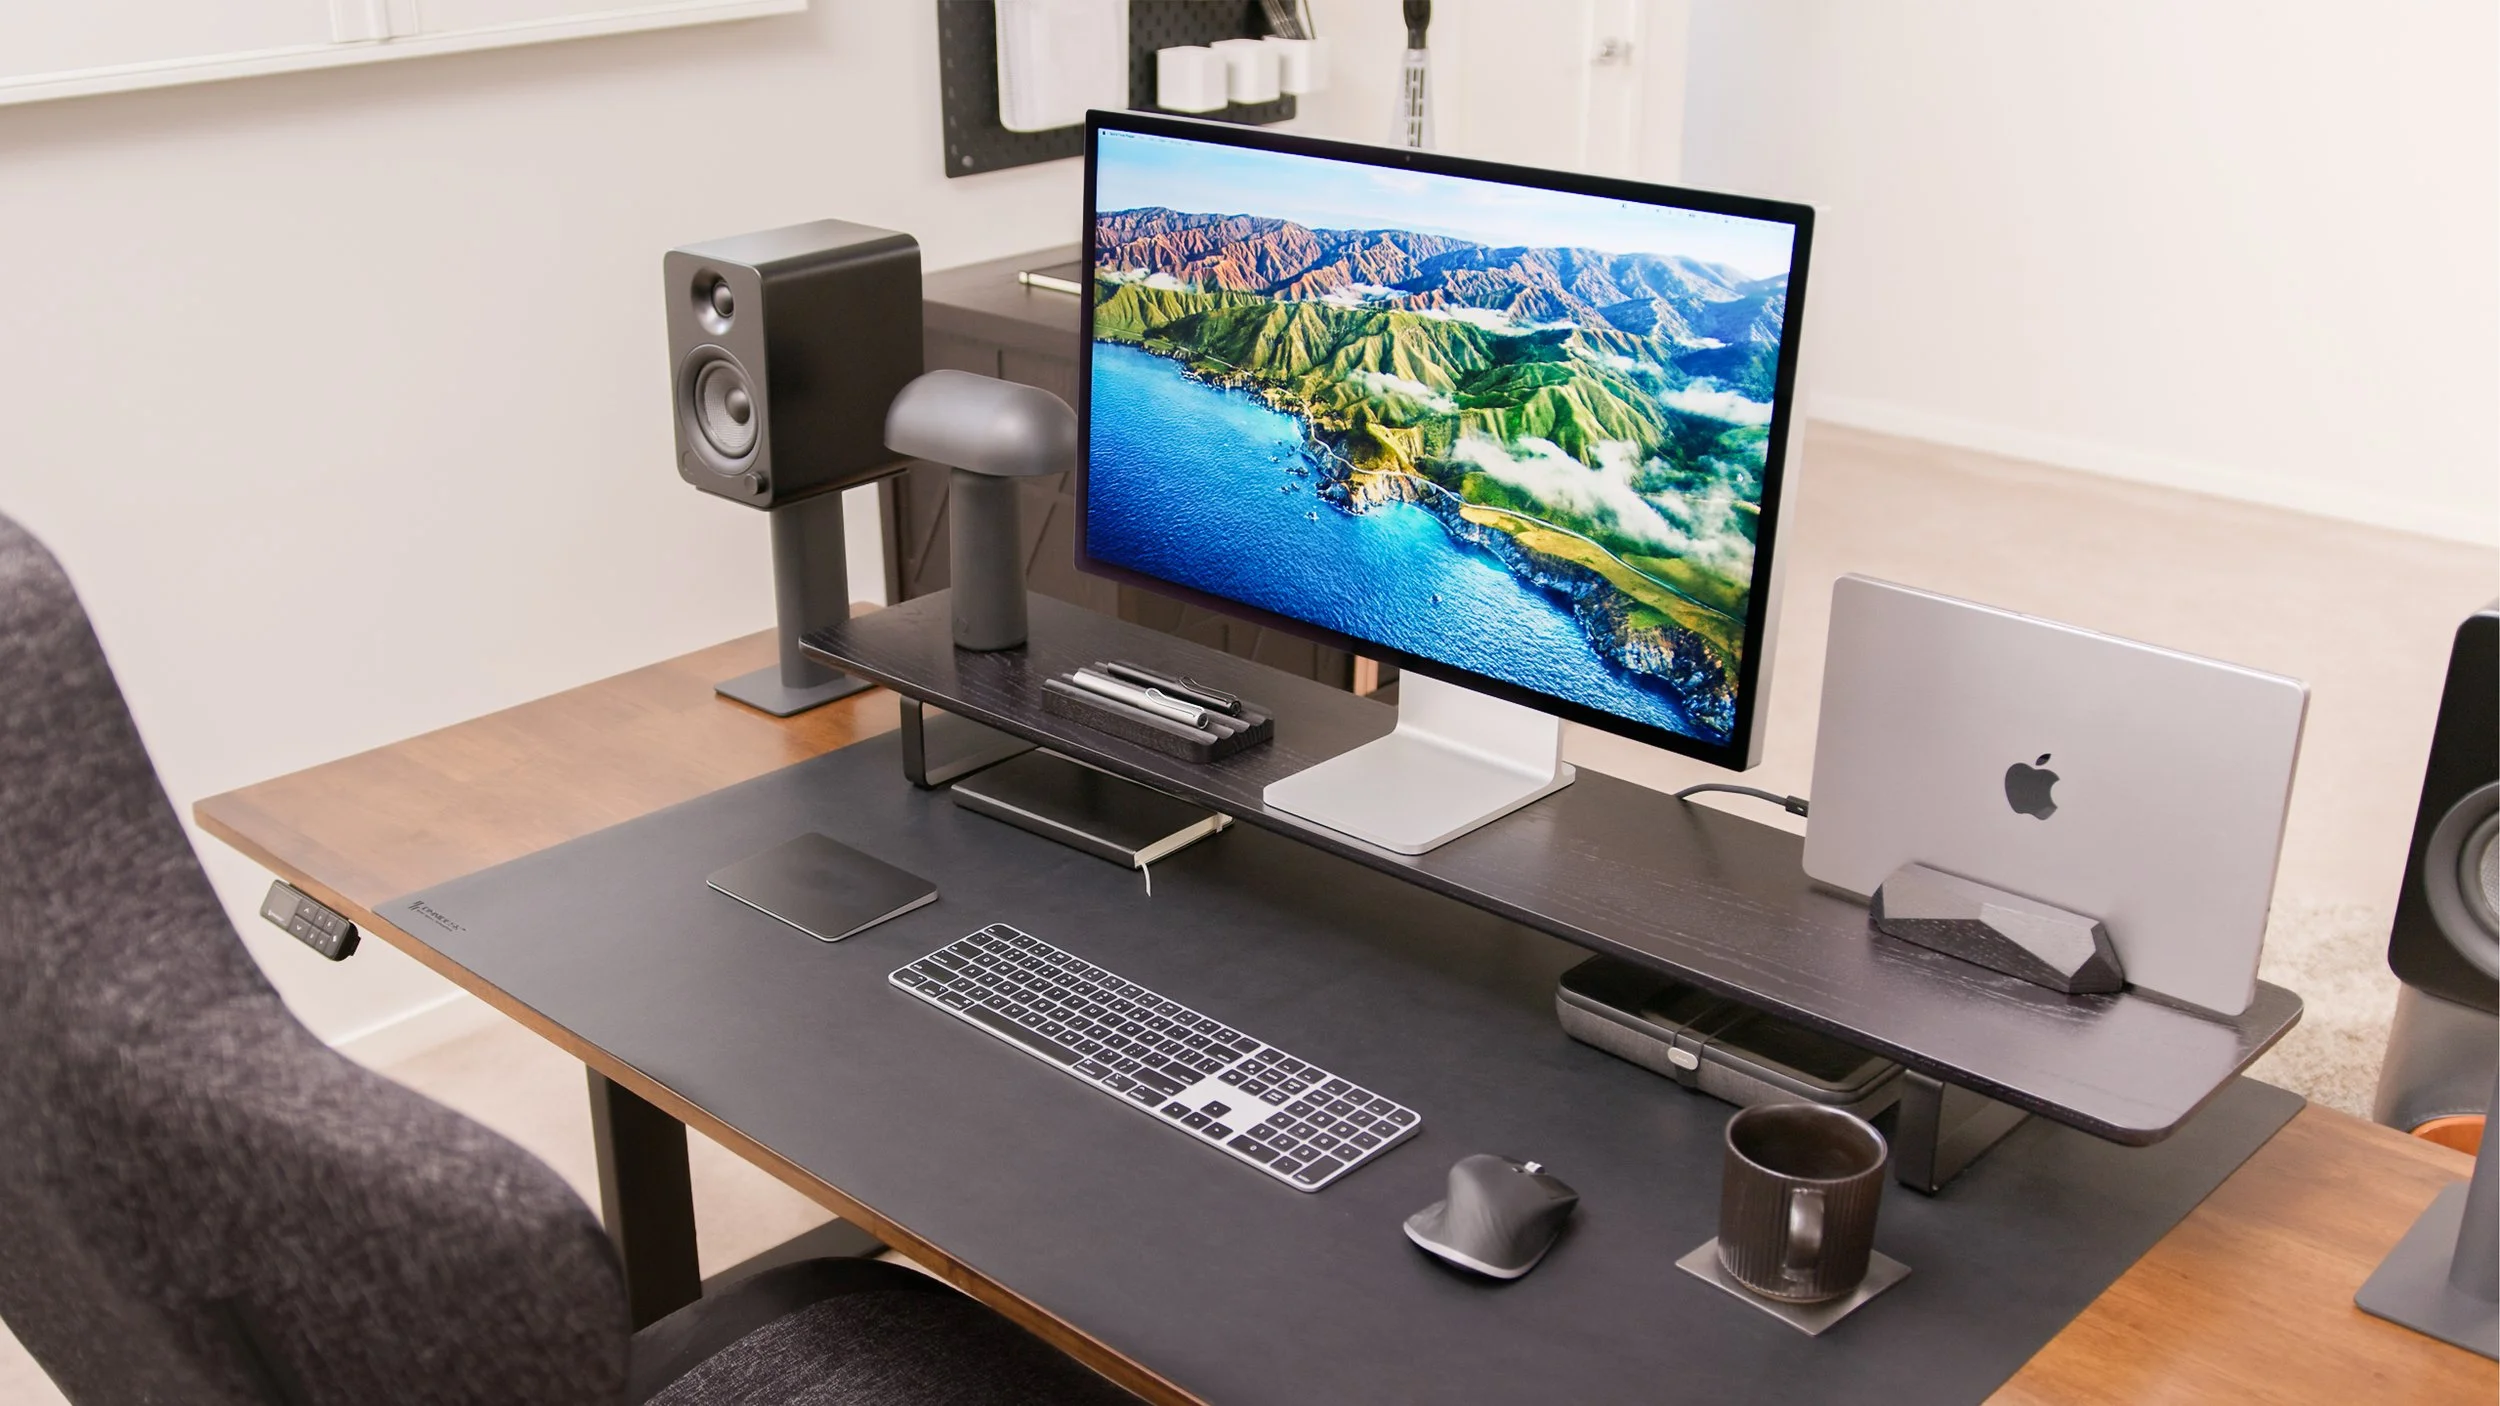
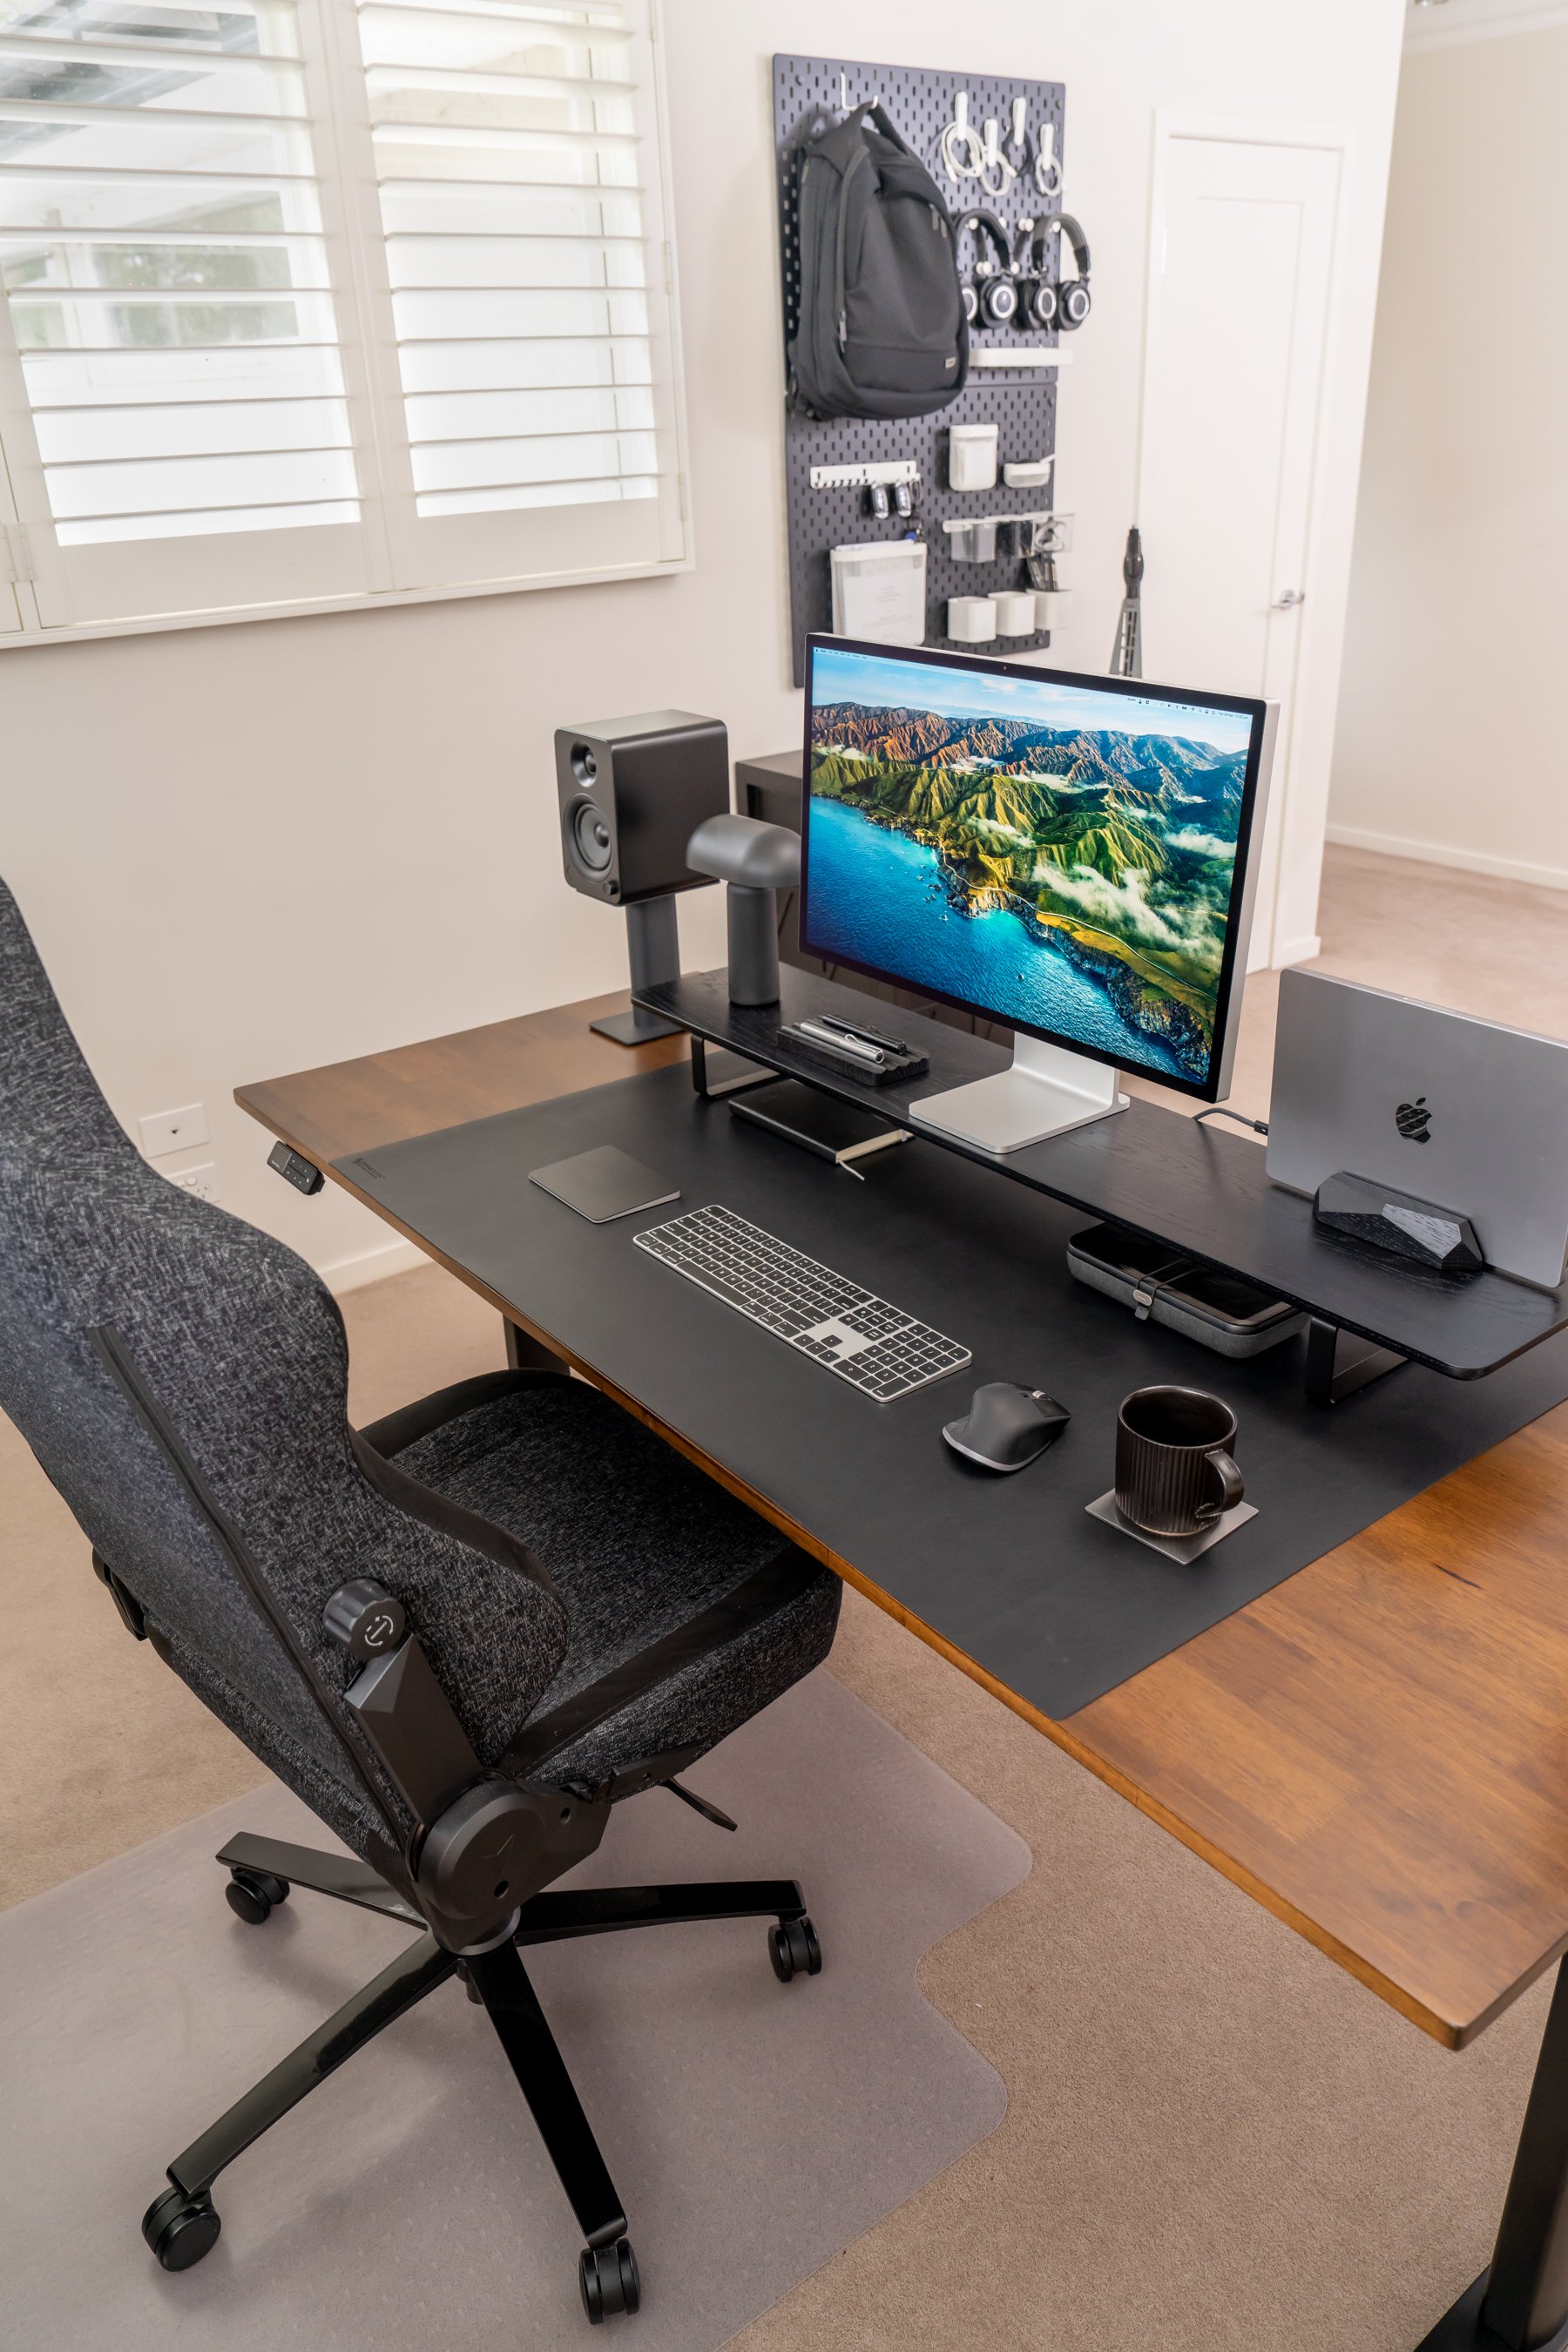
Beginning with the centre-point of any workspace, the desk. This, is the XL Omnidesk Ascent Wildwood in the Richbrown Hevea top and it’s absolutely incredible. This isn’t my first experience with a sit-stand desk, as I purchased and used an Omnidesk in the past for a family member. But beginning with the setting up process, it’s honestly a real breeze. There’s no exposed motors, with everything neatly housed underneath the desk in the control box, and within each of the legs, it’s designed really well.
One of my main prerequisites for going into this new desk build, was that I wanted a Desk that would look great from all angles, as it were to be placed in the center of the room. So the design of the frame, to the materials, colours and cable management all had to be well-considered and put together.
Once all assembled and in place, with all of my on desk peripherals, it really looks fantastic. Beginning with the top of the desk, I’ve paired the solid Richbrown Hevea hardwood with a full size Omnidesk mat, which matches some of the black accents throughout the rest of the room. No matter how I’m using the desk on the surface, the large desk mat allows me to move everything around, have a soft surface to rest my arms on, and ensure’s I don’t scratch the surface of the desk. It even has a perfectly cutout whole for the cable management slot at the back of the desk.

Rear of the Desk Setup in the seated position, with various peripherals featured on the surface and cable management bar underneath.
I love utilising the Standing component of the desk, especially when i’ve been sitting in the office for up to 10 hours a day. It rises quickly at about 6cm’s a second, and can go as low as 60 cm all the way up to 1.25 meters which is crazy high. Although I didn’t test it, it can apparently hold up to 130kg which is just absurd.
The controller unit is super customisable too, where you can preset different height settings, change the LED colour, or turn it off completely and it pairs with the bluetooth app, which you can customise the desk even further, to the extent of reminding you when to take breaks from sitting or standing throughout the day.
One of my favourite features of the Desk, that can be picked up seperately is the advanced cable management tray, and paired with the cable cutout, which is removeable in the middle of the desk, it seriously brings a smile to my cable obsessive OCD face. I really don’t like cable clutter, to the extent where the last desk I built was purely designed to have no cables. So having the desk in the middle of the room, with the wires on the outside was a concern I had but, with a few zip ties, cable loops, and utilising the cable tray and magnetic components under the desk, I’m really happy with how it turned out.
I connected the tech peripherals, and the desk power to a powerboard in Omnidesk’s cable management tray, so that only one singular wire comes out and plugs into the wall. Almost like the whole desk itself is like an appliance. Which reminds me somewhat of that famous photo of Steve Jobs in his sparse living room, where his tincer lamp is singularly connected to the power outlet.

One single cable, powering the whole setup.
Lastly, I use a Secretlabs chair, which I carried over from my last setup, which was hard at first, but offers really awesome support, and I’m so happy I invested into it a few years ago. That’s the desk itself, you can pick one up using my link in the description where you’ll get a nice little discount too, or just use the code DESIGNEDBYKIRK at checkout.
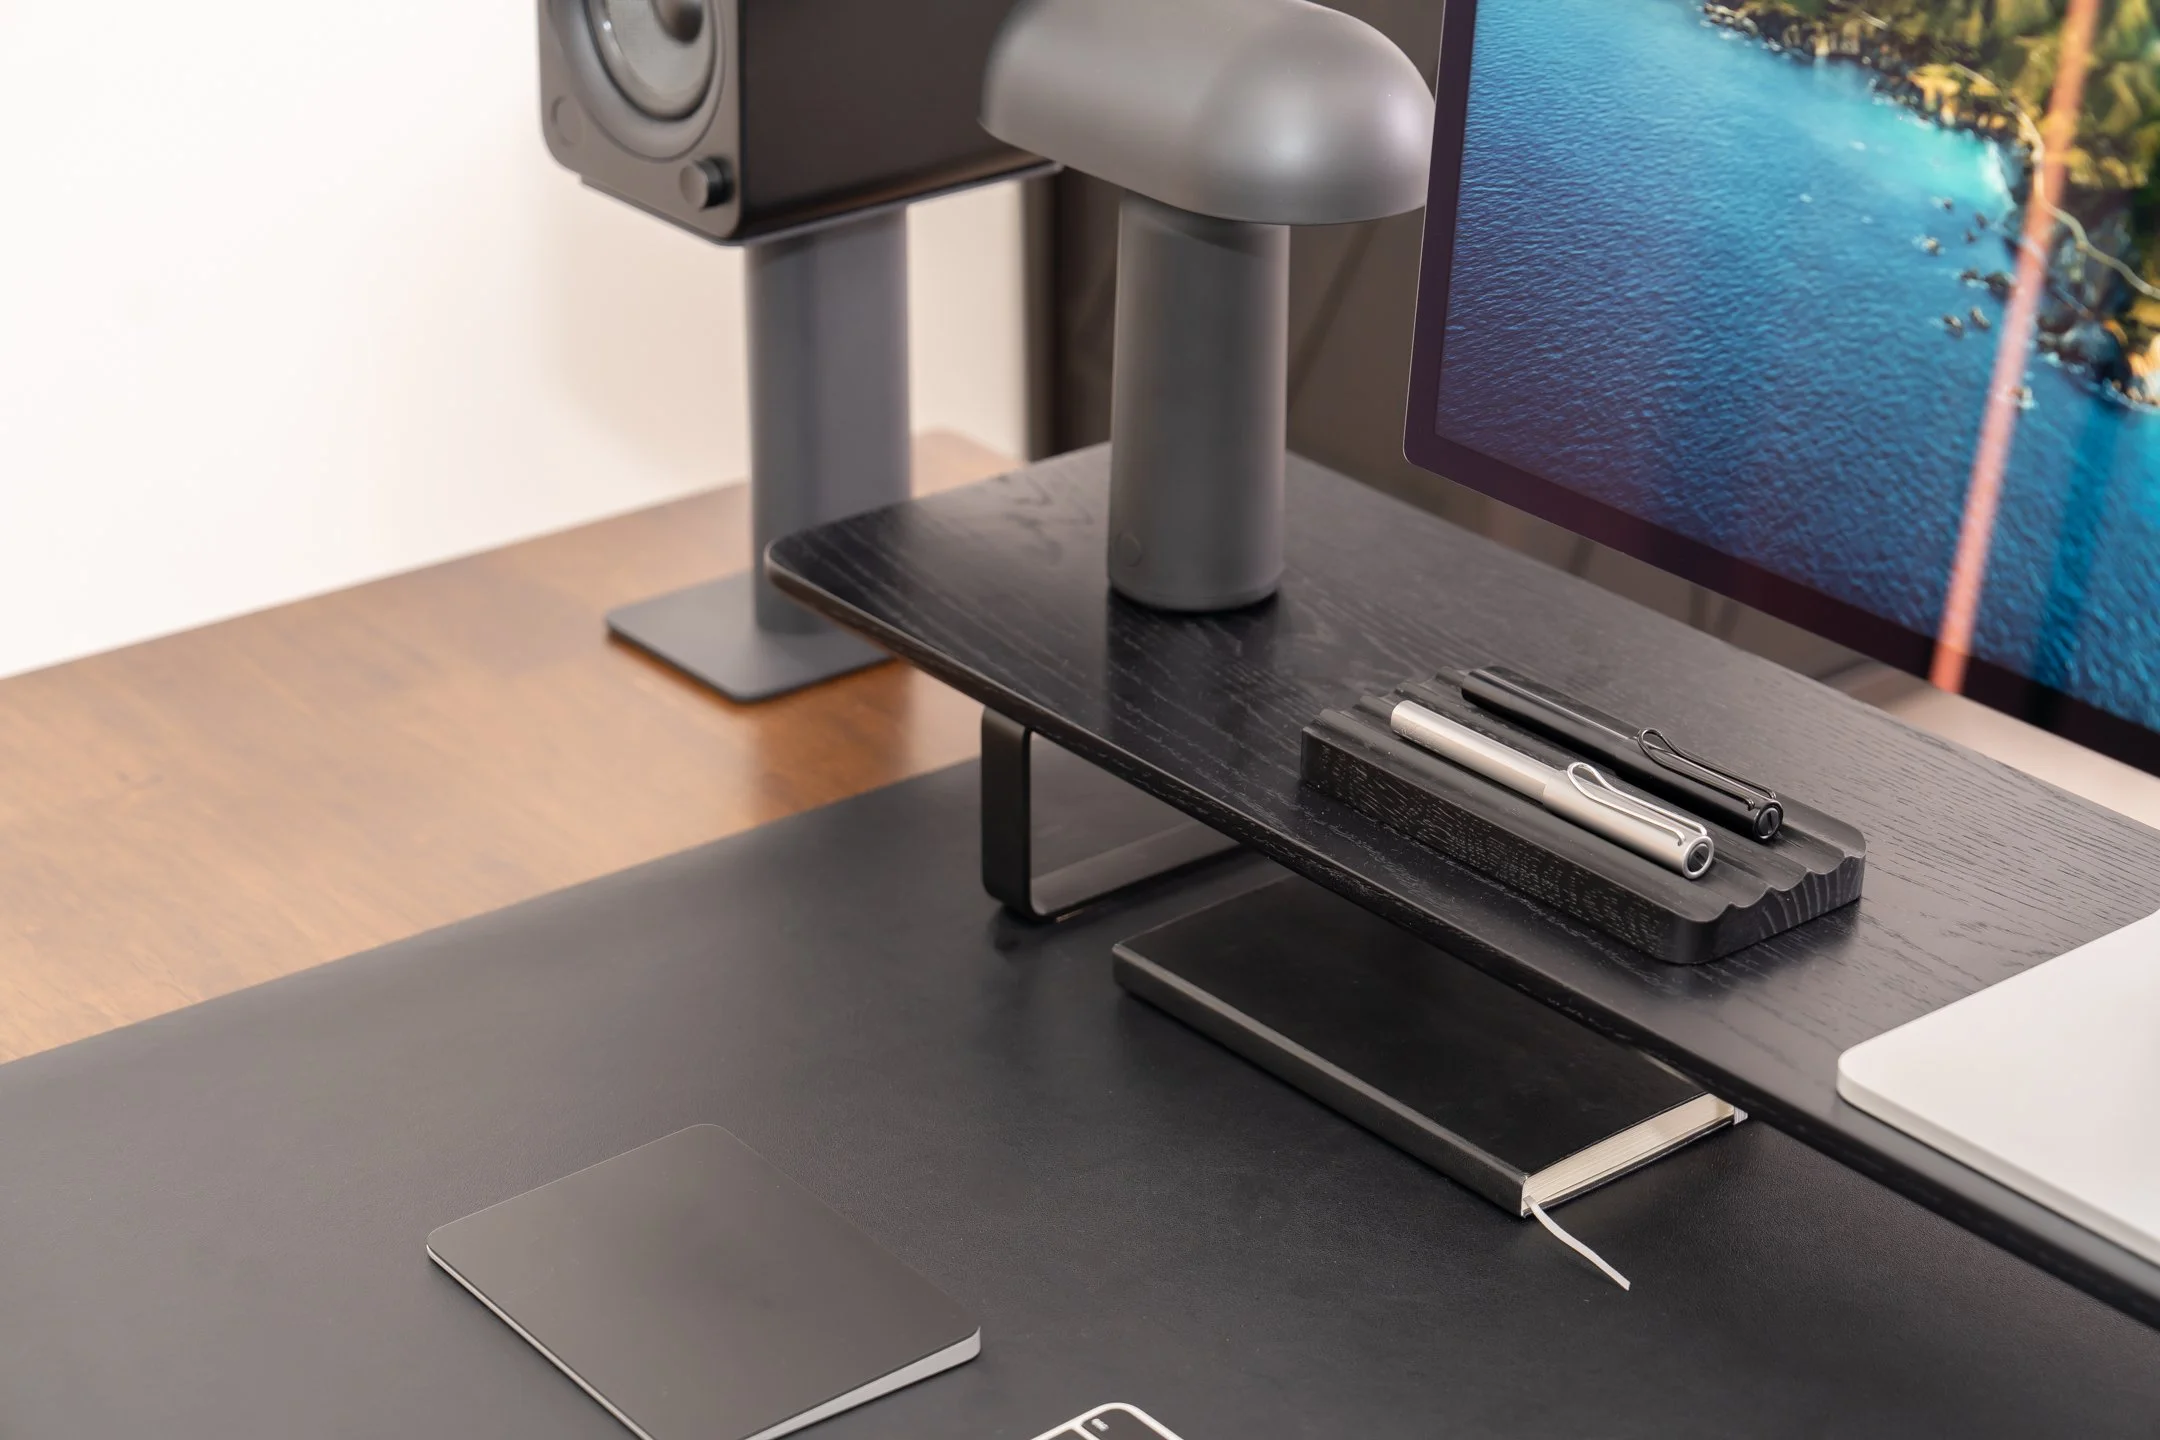
The Oakywood Desk Shelf and Pen Tray.
Part 2: Oakywood
Now a desk-space, is obviously nothing, without what goes ontop of it and that’s where this desk’s personality really comes to life. Housing a lot of my main peripherals, is this really nicely designed desk shelf from Oakywood. It’s incredibly nicely designed from, built from Black Stained oak covered with a water base varnish, and it’s been hand made too by their team.
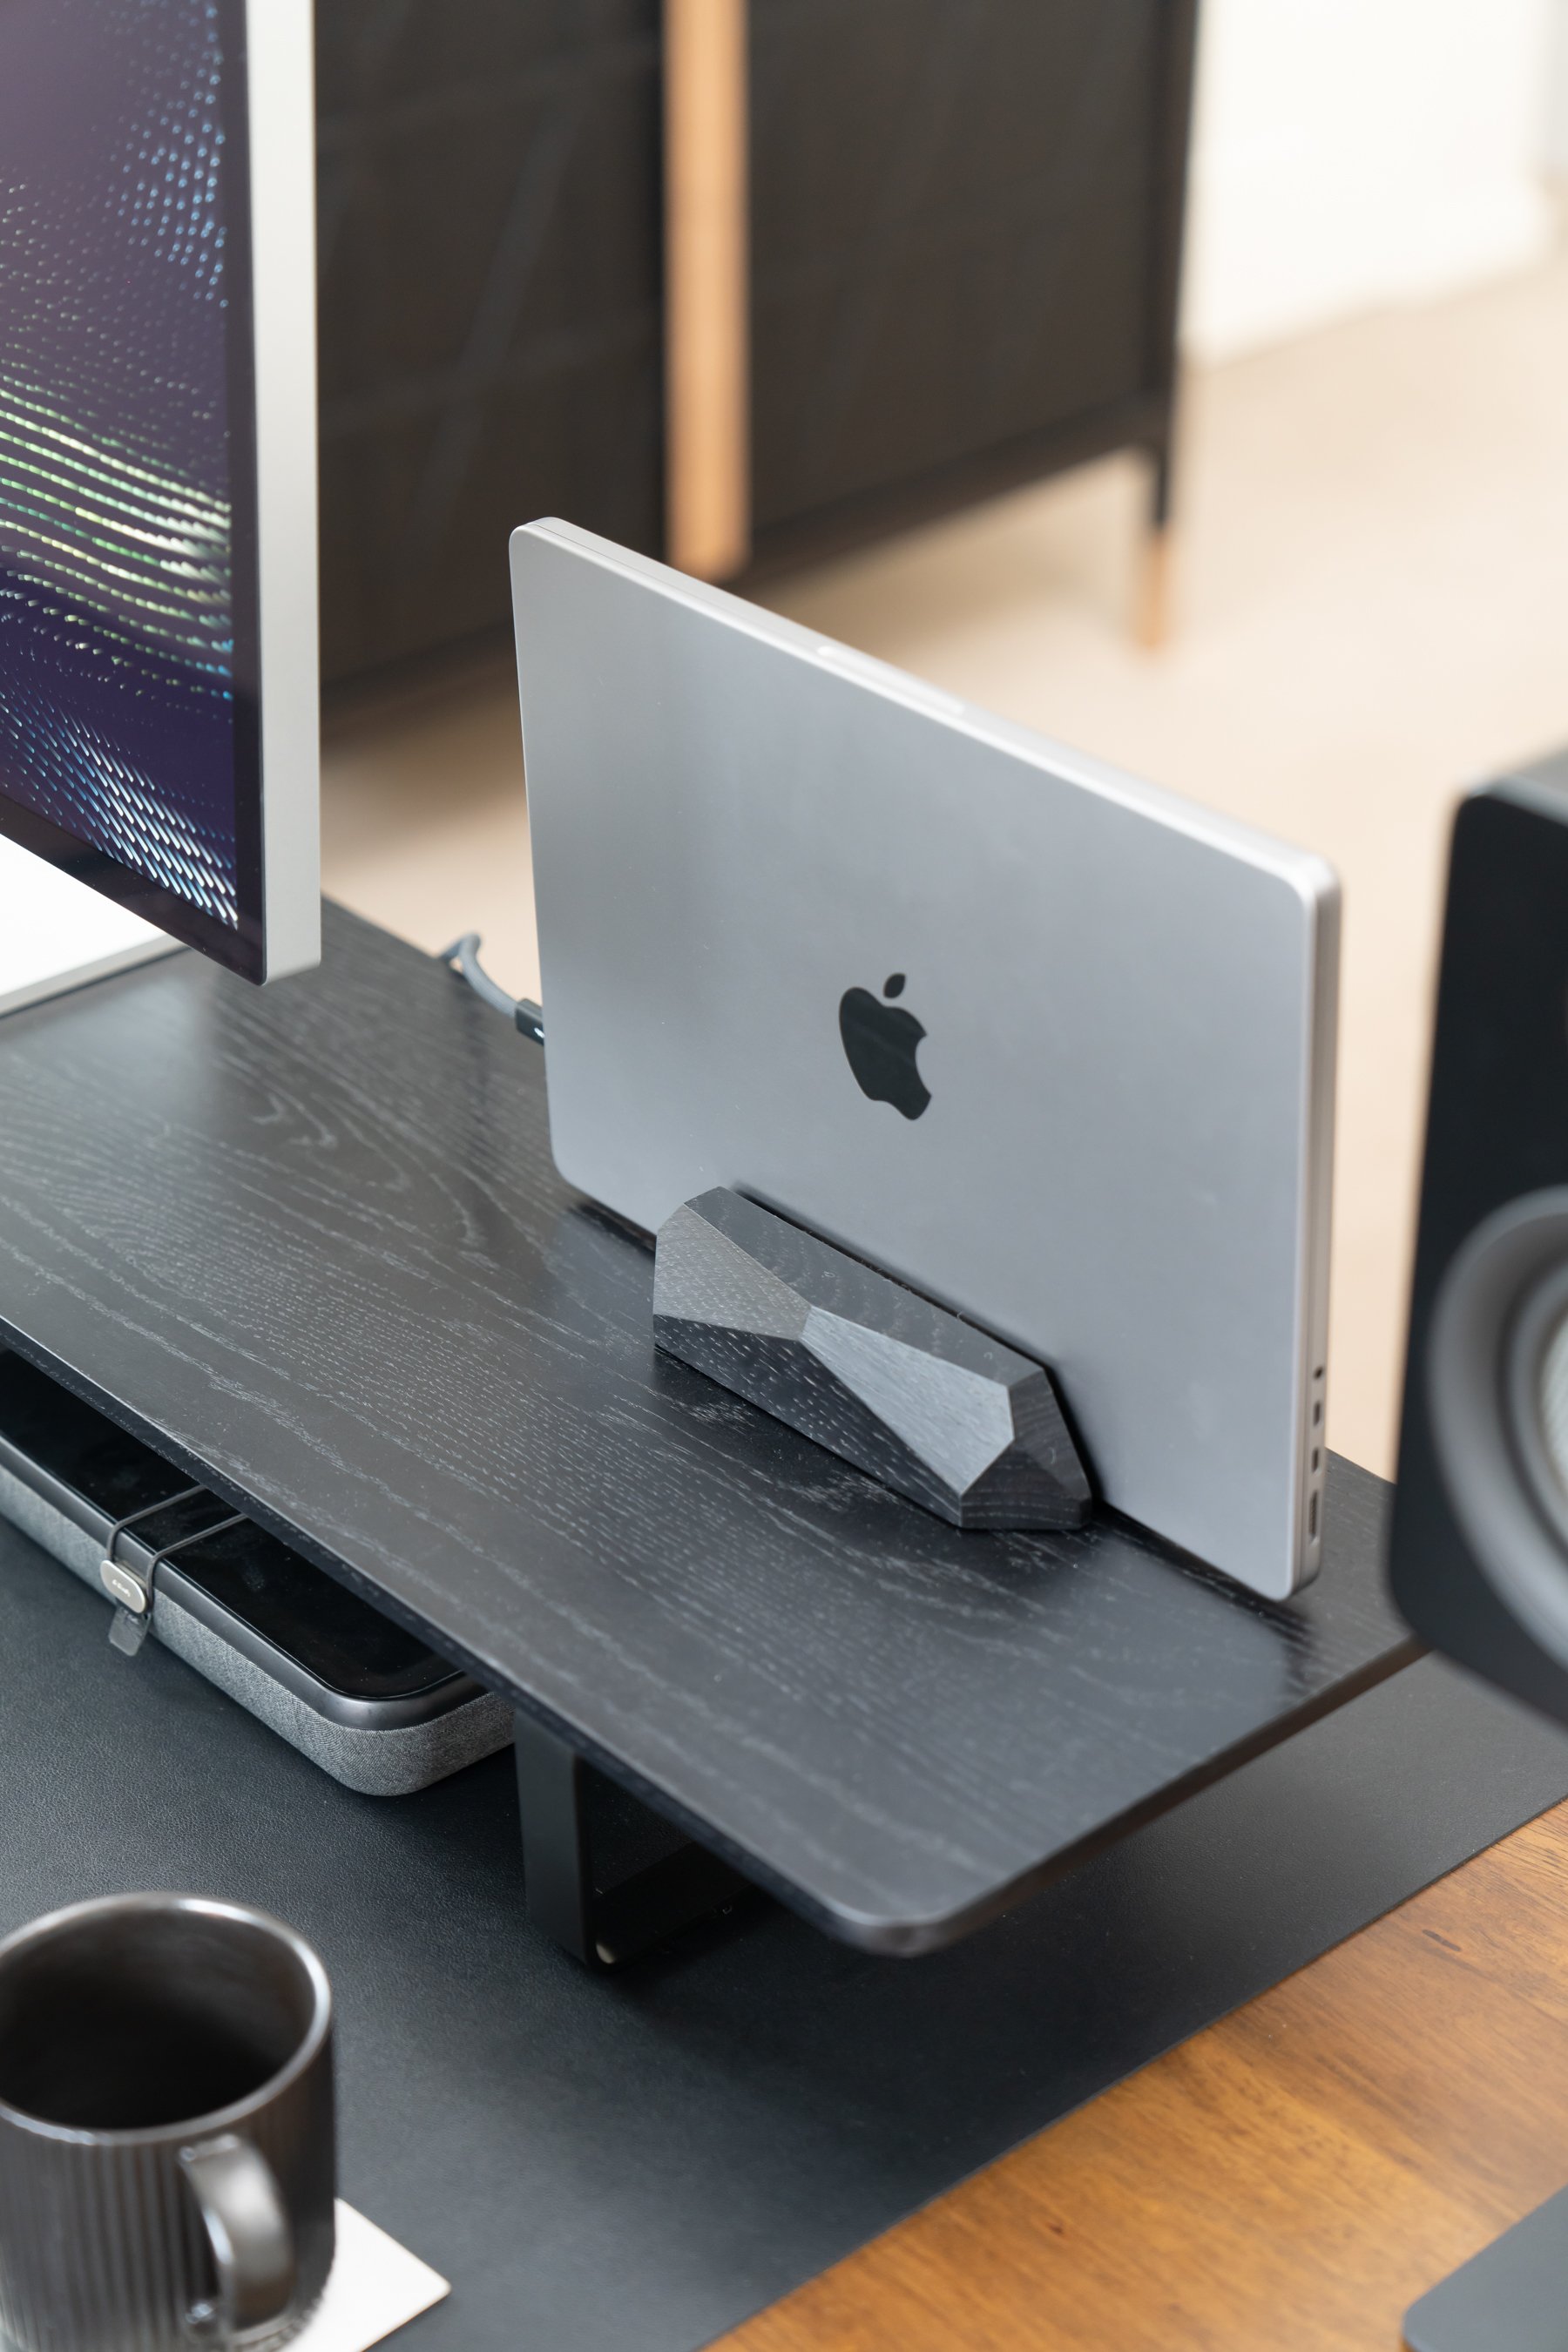
They have an really unique process where through their Oakywood 3D Configurator, you can customise your own Desk Shelf and other products, to the exact dimensions of you liking. Mine here is 125cm x 24cm deep, which perfectly fits on the Desk Mat, and nestles in my Apple Studio Display and other items. It really adds a lot of structure to the Desk and another layer of organisation, allowing there to be tonnes of free space underneath the shelf for some essential storage, but besides all that, it just looks great, is solid, and pairs pretty much seamlessly with their MacBook Stand which I’ve mounted on the right side of the Desk, and their pen tray, which houses two of my favourite Lamy Fountain pens.

The Apple Studio Display sitting on-top of the Oakywood Desk Shelf.
These are great, as the stand keeps my MacBook perfectly in place, and it never moves or wobbles, meaning I never need to adjust it, and in black, it looks like it’s perfectly integrated into the shelf too. The pen tray, also ensures I always have a pen within arms reach, whenever I need to jot down an idea that pops into my head, or add a task to my to-do list, which I like to write down in my handy dandy notebook. What’s really cool about these Oakywood accessories as well, is that on their website, you use their built in AR feature to see how some of their products look in your space. Like this Magsafe dock, which really gives you a good idea when deciding which accessories will work well on your desk space. The oakywood team were kind enough to send out the shelf, but I purchased the stand and tray seperately, and I’ve loved all of them ever since.


Part 3: The Tech
Let’s get to the Tech, and a lot has changed here. Beginning with the main featurepoint on the desk setup. This is the Apple Studio Display, specifically it’s the model with the normal glass, not the nano-texture, but I did opt for the height adjustable stand. Now, I definitely have said in the past that there are better value options compared to this display, in particular, I’ve recommended and rocked a single and a double LG-32UL950 display in the past, but finally decided to opt for a single Apple Studio Display, as I wanted something that was perfectly colour accurate due to finding that there was a decent colour shift, when working on my LG displays, and watching content on other displays out there. Despite the price, I couldn’t be happier with the studio display, for all it does, from the built in webcam and speakers which is so convenient, to the instant on when I ever I sit down at the desk to start the day. And it completely charges my MacBook plus ads some well needed ports on the back too. I’ll definitely have a full review on this one soon, but in the meantime, I must say that I really don’t regret getting the high adjustable stand, despite sitting ontop of my Oakywood Desk Shelf, as it not only looks great, but when I do use the desk in the standing position, as I’m quite tall, I do need to lift it up a little bit. The price is really the hardest part to swallow, but I have to say, it doesn’t quite compare, especially in the compatibility and design department with my MacBook.

Apple Studio Display, with height-adjustable stand.
Speaking of, I have a 14-inch 2021 M1 Max Macbook Pro, with 32GB of Ram, 2TB of Storage, with the top spec CPU and GPU. It’s been a great machine, but not a dream machine, I can definitely get it to slow down and kick the fans up with some of my BRAW workflows and utilising fusion in DaVinci resolve. However, I love the smaller screen size, compared to my old 16-inch for on the go use, and when I do leave the one cable connection is seriously a blast.
With the studio display, and the MacBook right there, I’ve got access to, 2 Thunderbolt 4 ports, 3 extra high bandwidth USB C ports, my SD Card Slot, and HDMI (which I don’t really use), meaning that I could go away with the extra cables from my old Thunderbolt dock, which all I’m really missing out on this point is ethernet, but that hasn’t been an issue at all.
Paired again with the Oakywood stand, and only have two cables really powering the whole computer part of the setup. It looks great, and works so well.
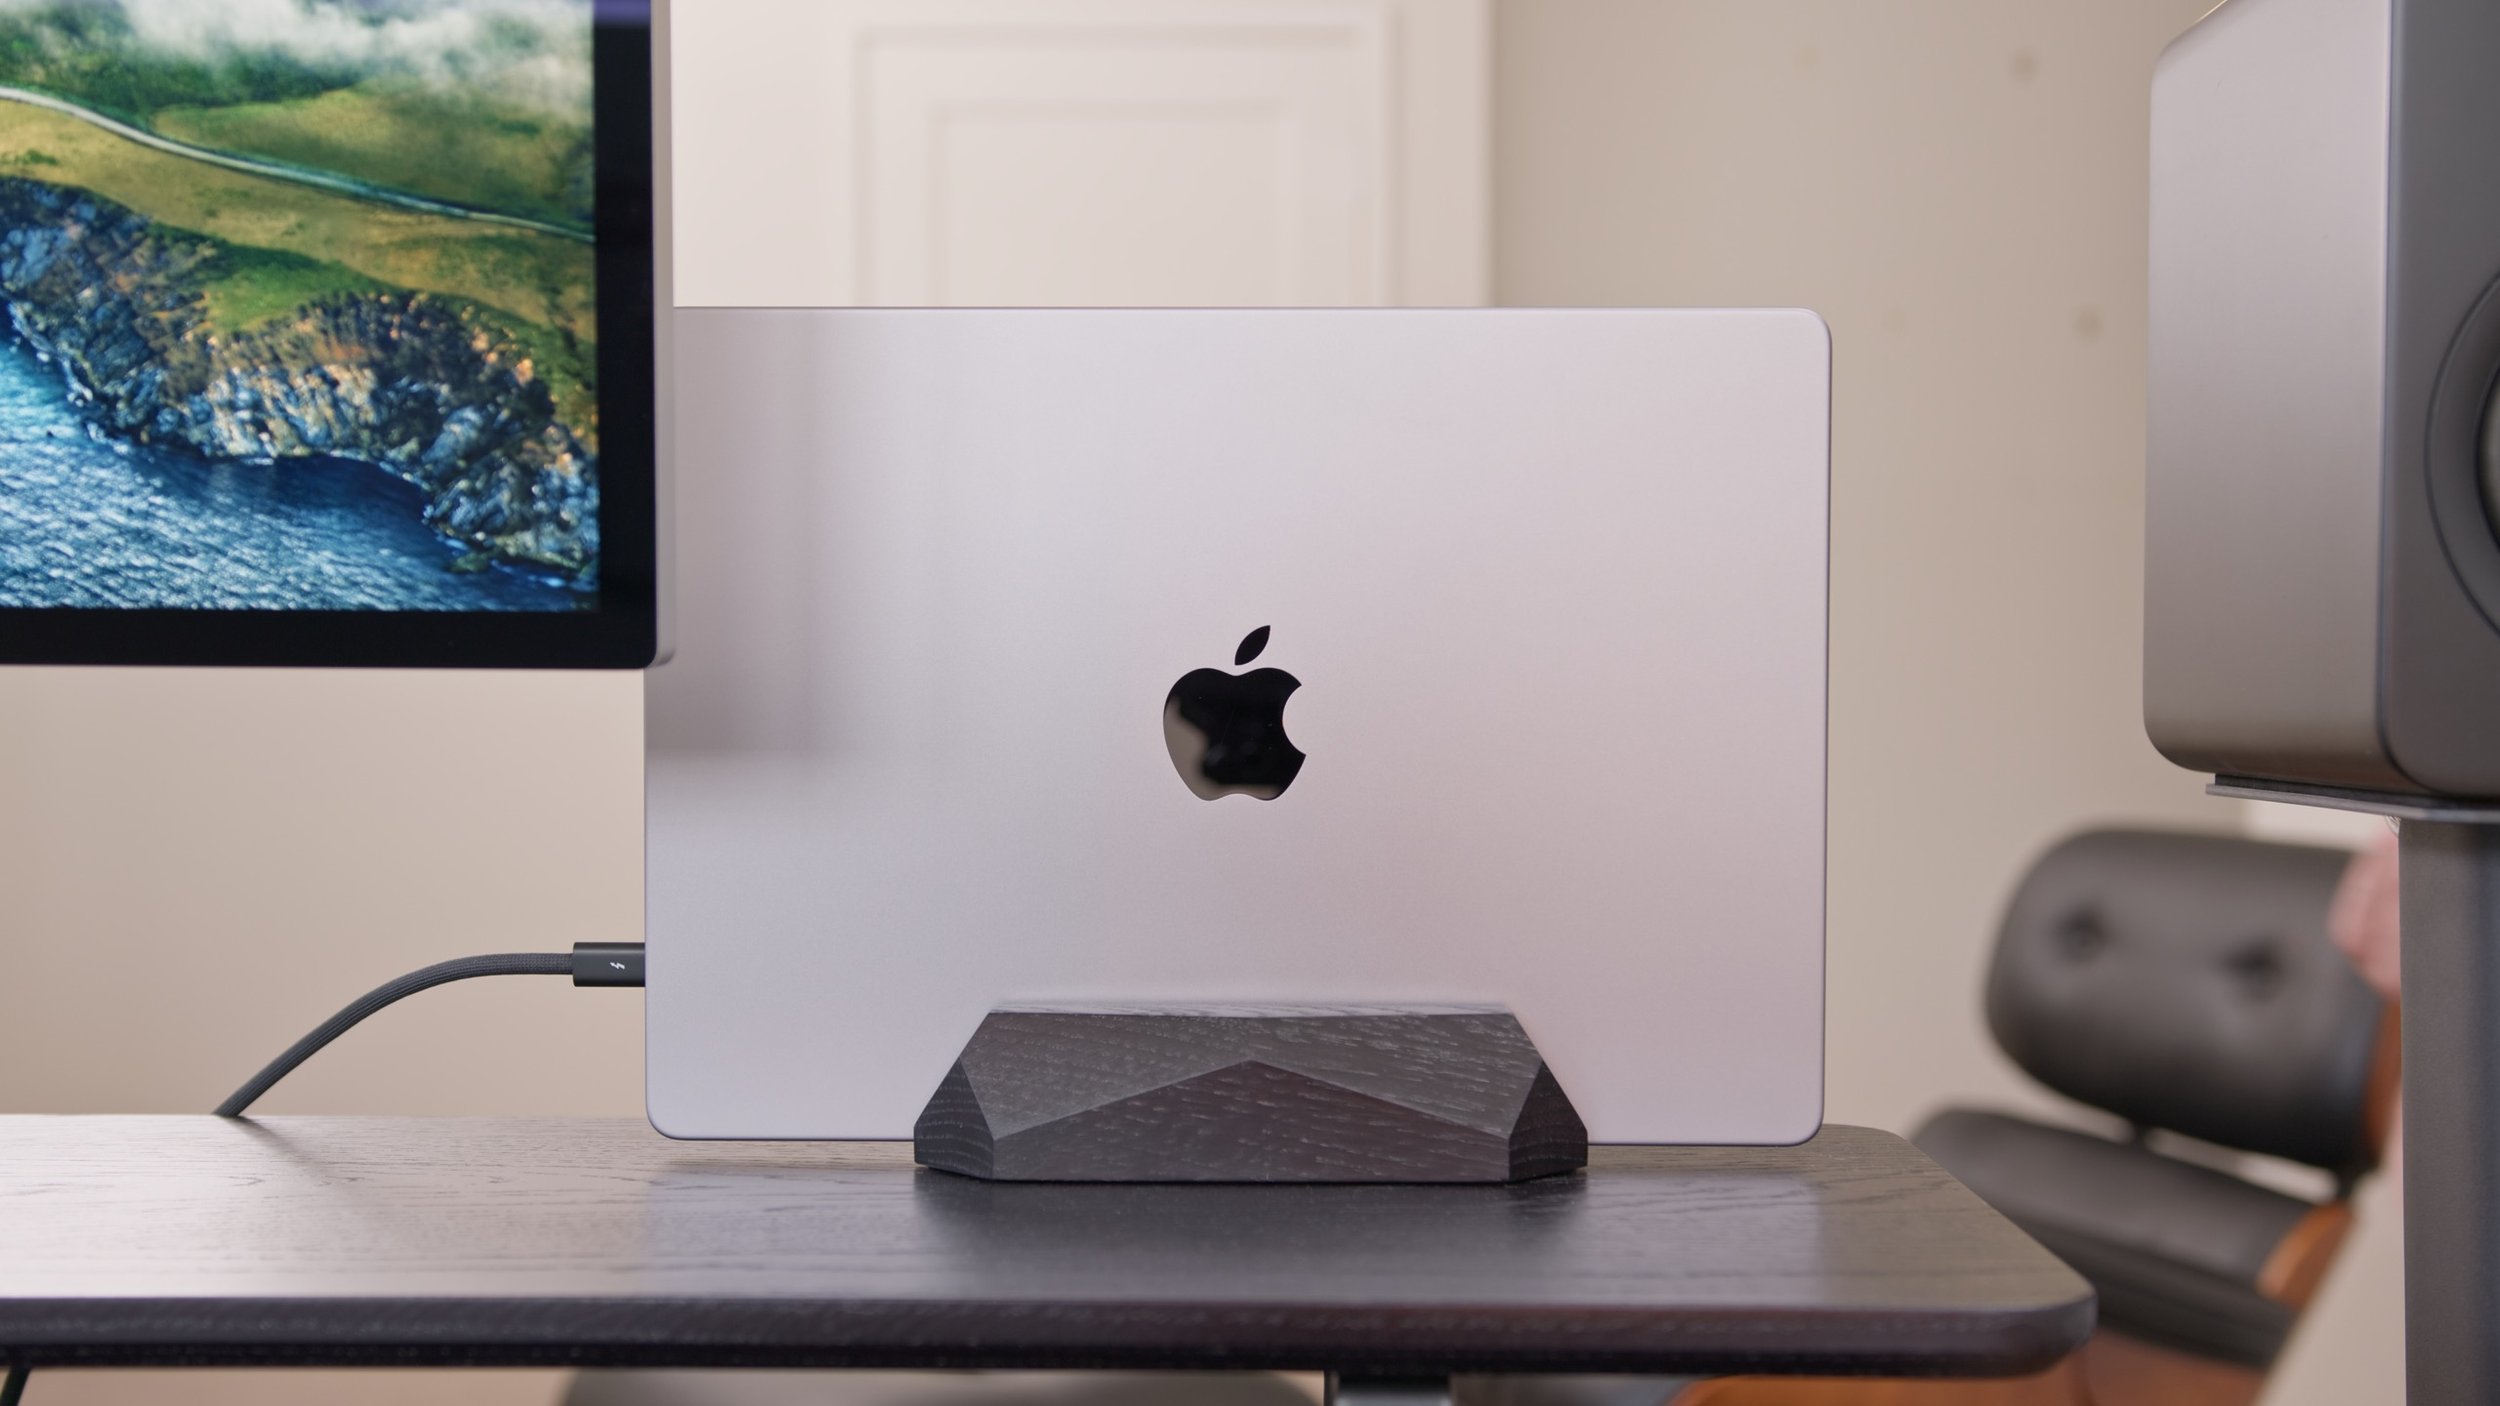
14-Inch M1 Max - 2TB, 32GB RAM, Maxed CPU+GPU.
Part 4: Peripherals
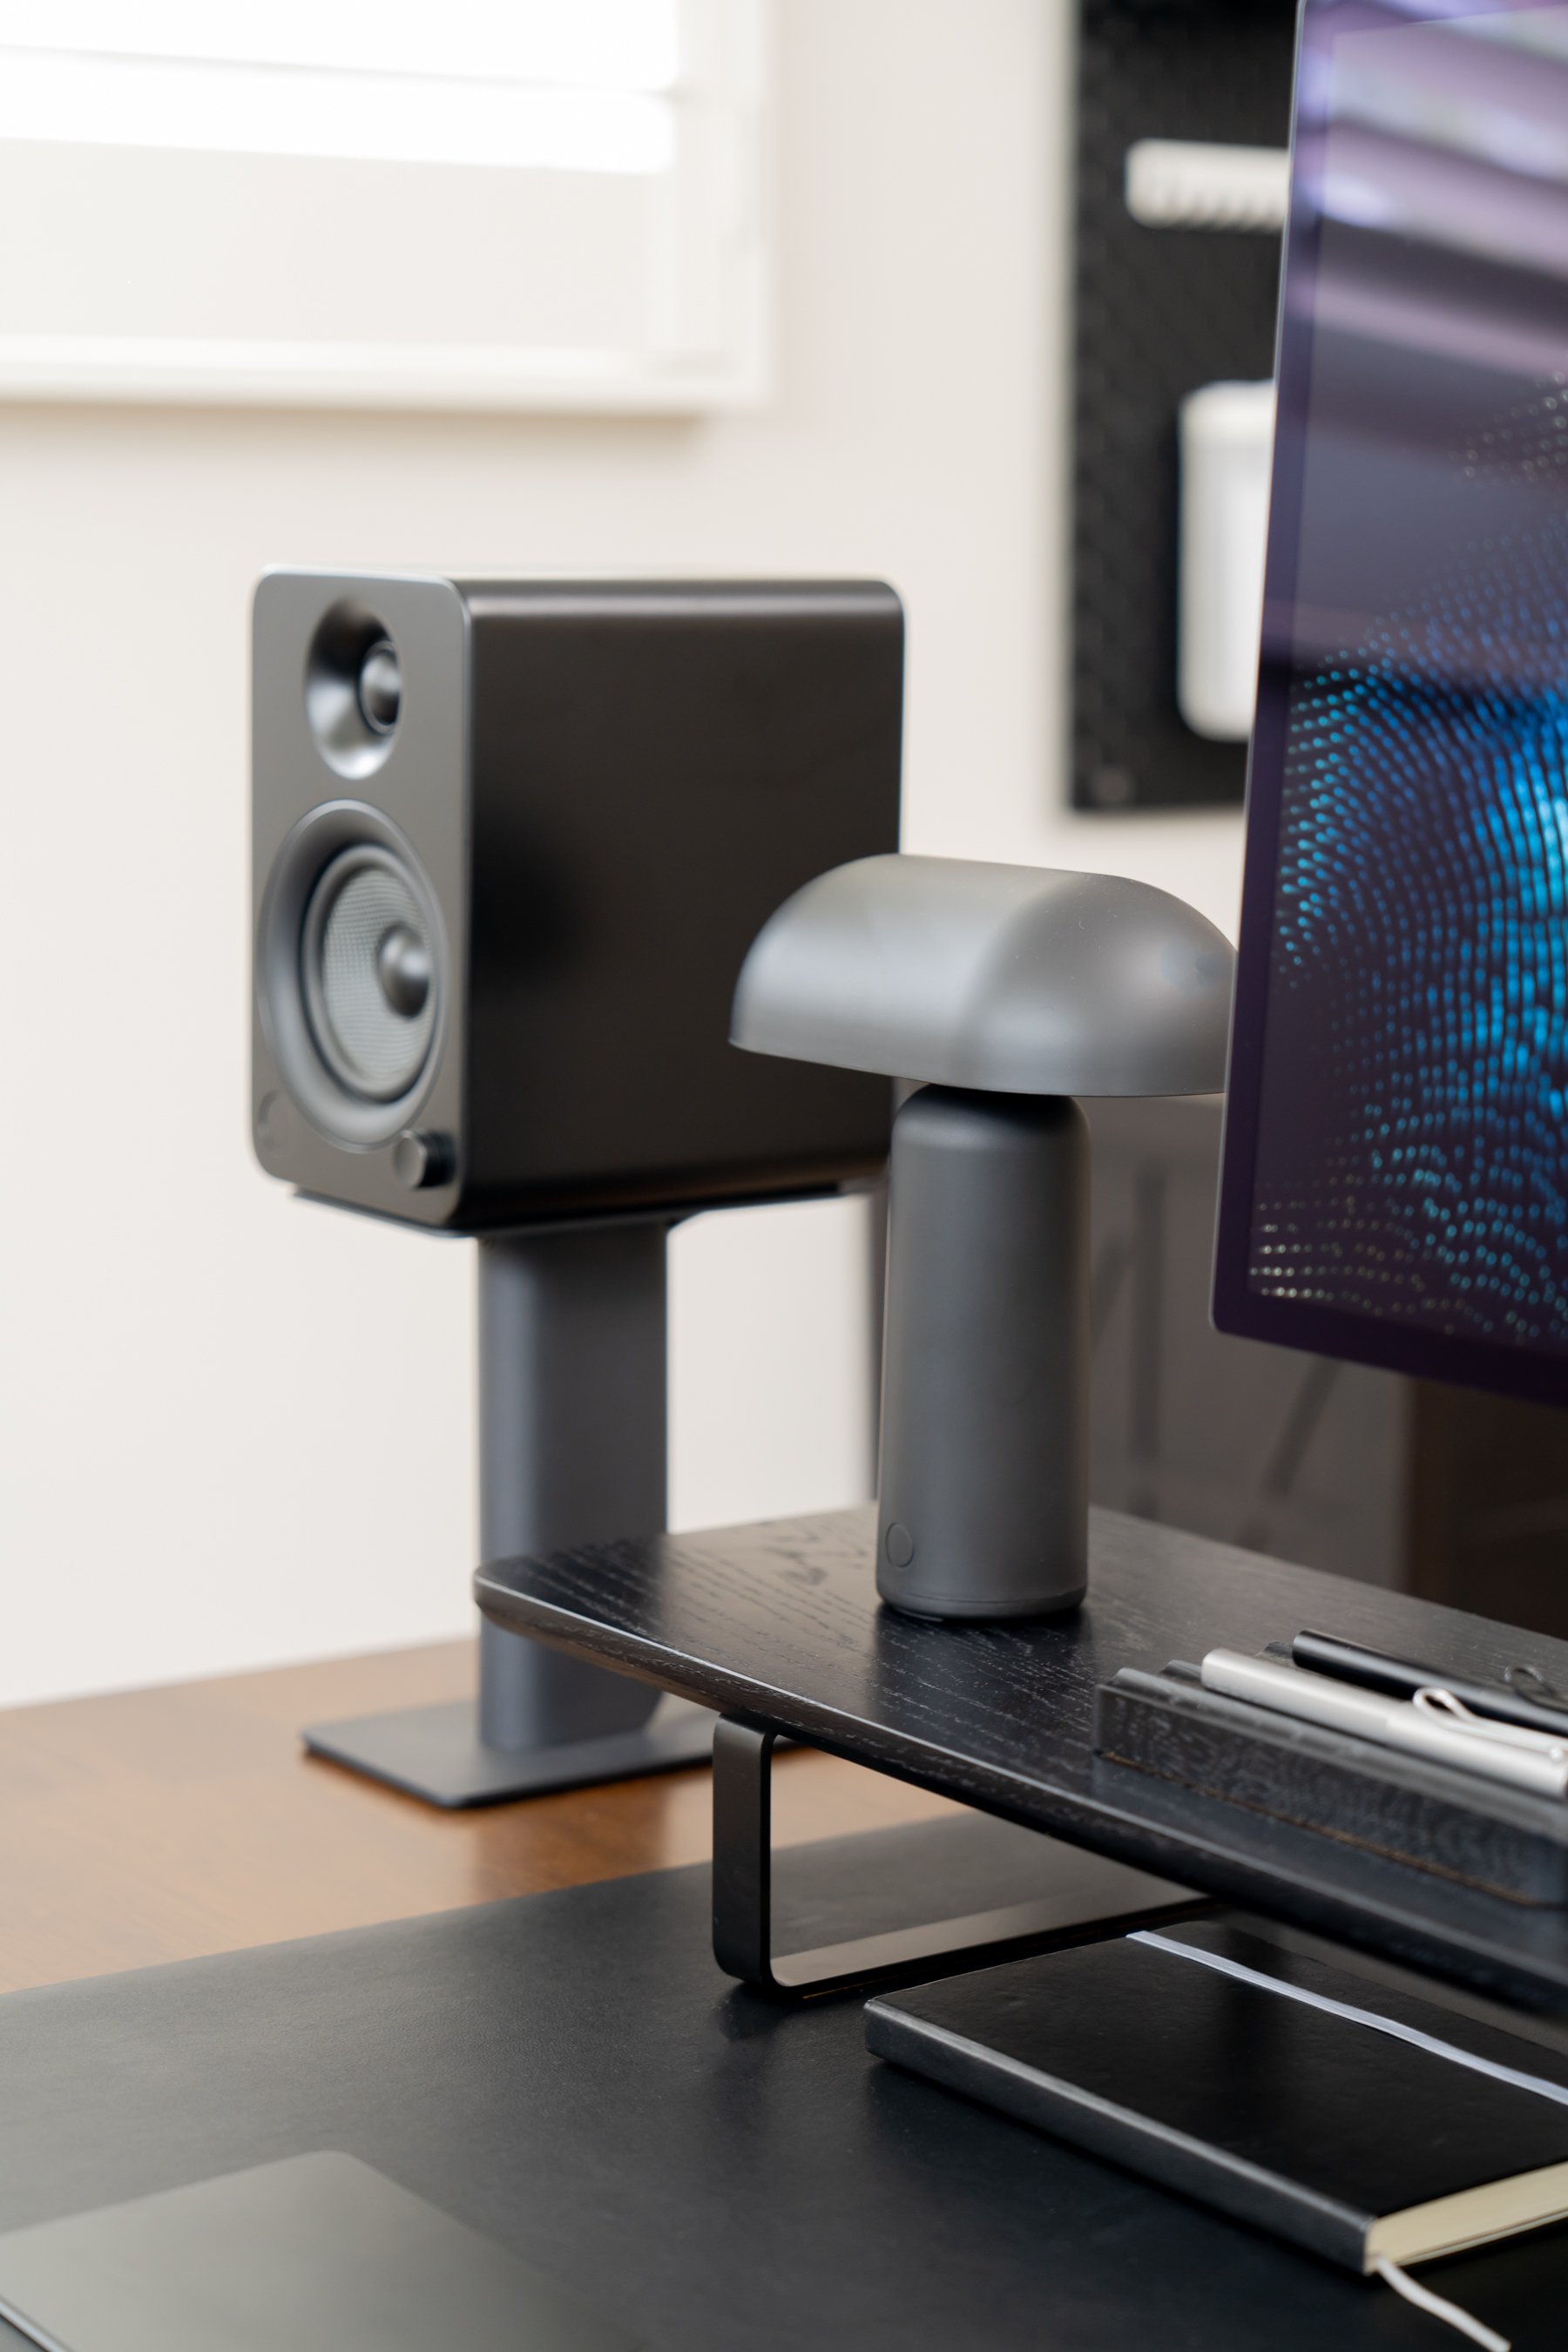
On the left hand side, I wanted to add a bit of decor and lighting to the setup, of which I have a battery powered desk lamp, from design company Norman Copenhagen. It’s the Porta Portable Lamp in Black. It doesn’t get too bright, with the three dimmable modes, but it’s reasonable considering the lamp is completely battery powered.
Honestly, I just love the way it looks, it suits really well on the desk setup, and sometimes I like to move it in front of my keyboard, particularly later in the evening, when I want to light up my desk space a bit more. A much nice alternative compared to having to mount those light bars on top of my display, which I’m honestly not a real huge fan of the look.
One drawback I will note with the lamp, is that it does charge with Micro-USB, which is annoying, considering we’re almost in a complete world of USB-C these days.
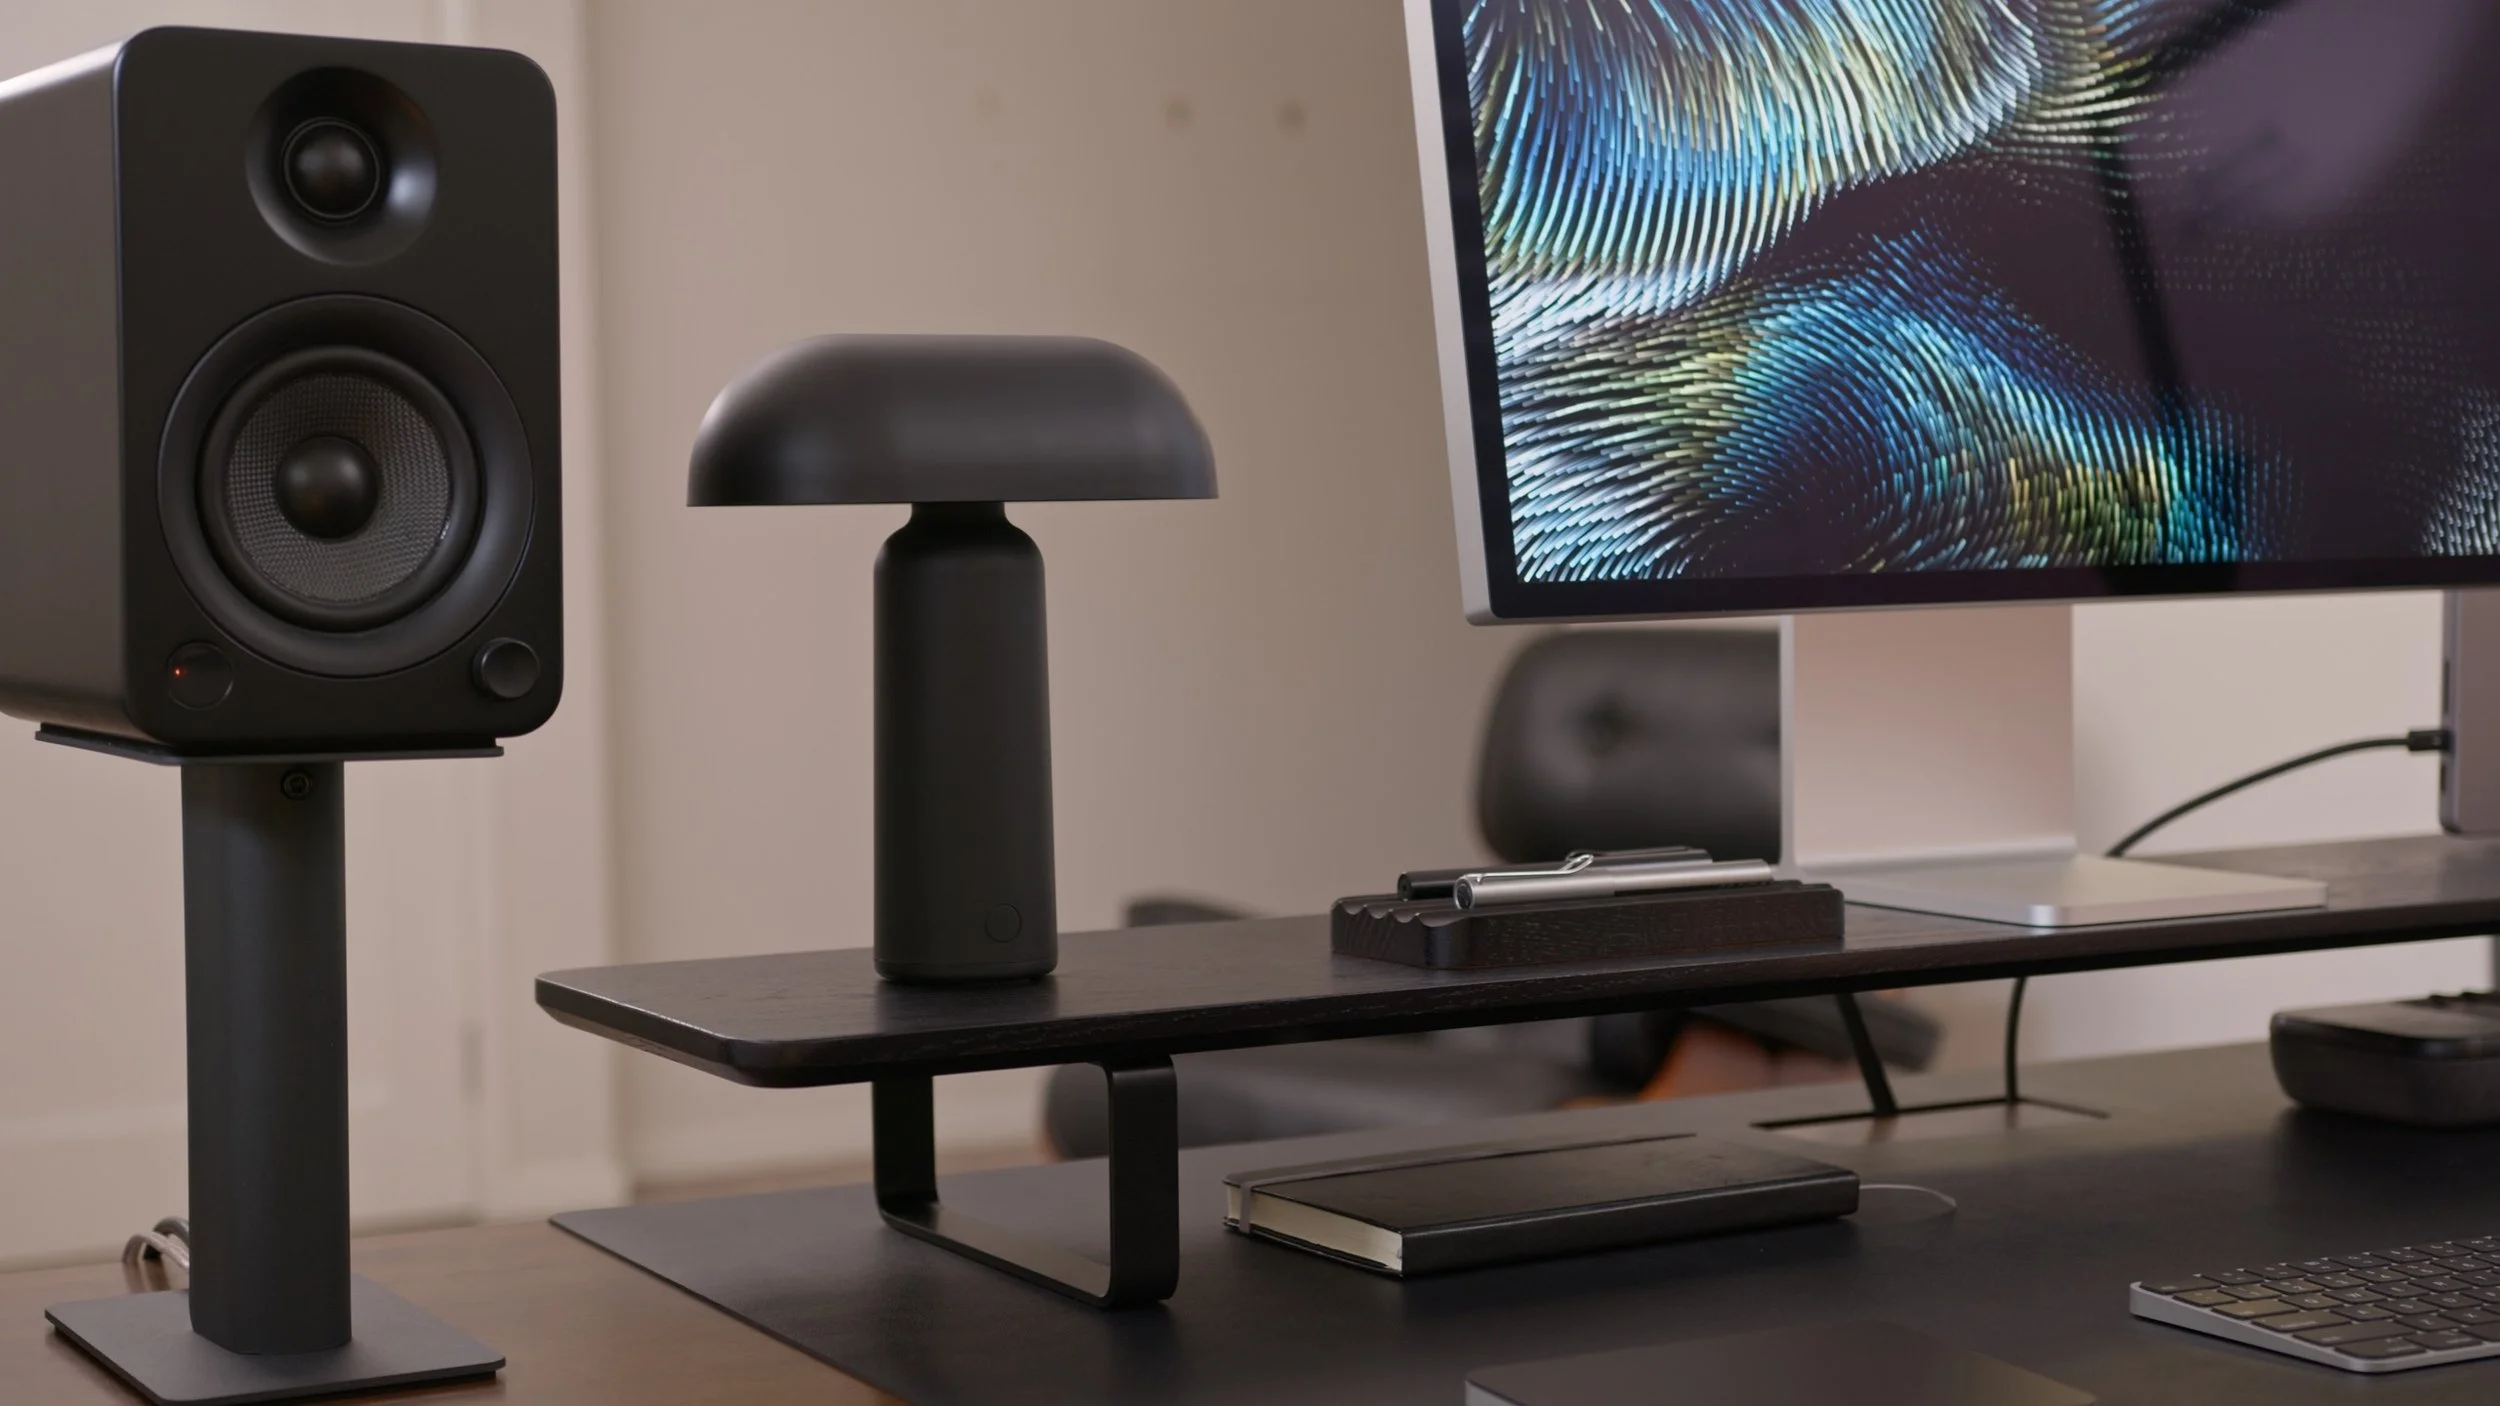
Nomann Coppenhagen, Porta Portable Lamp in Black.
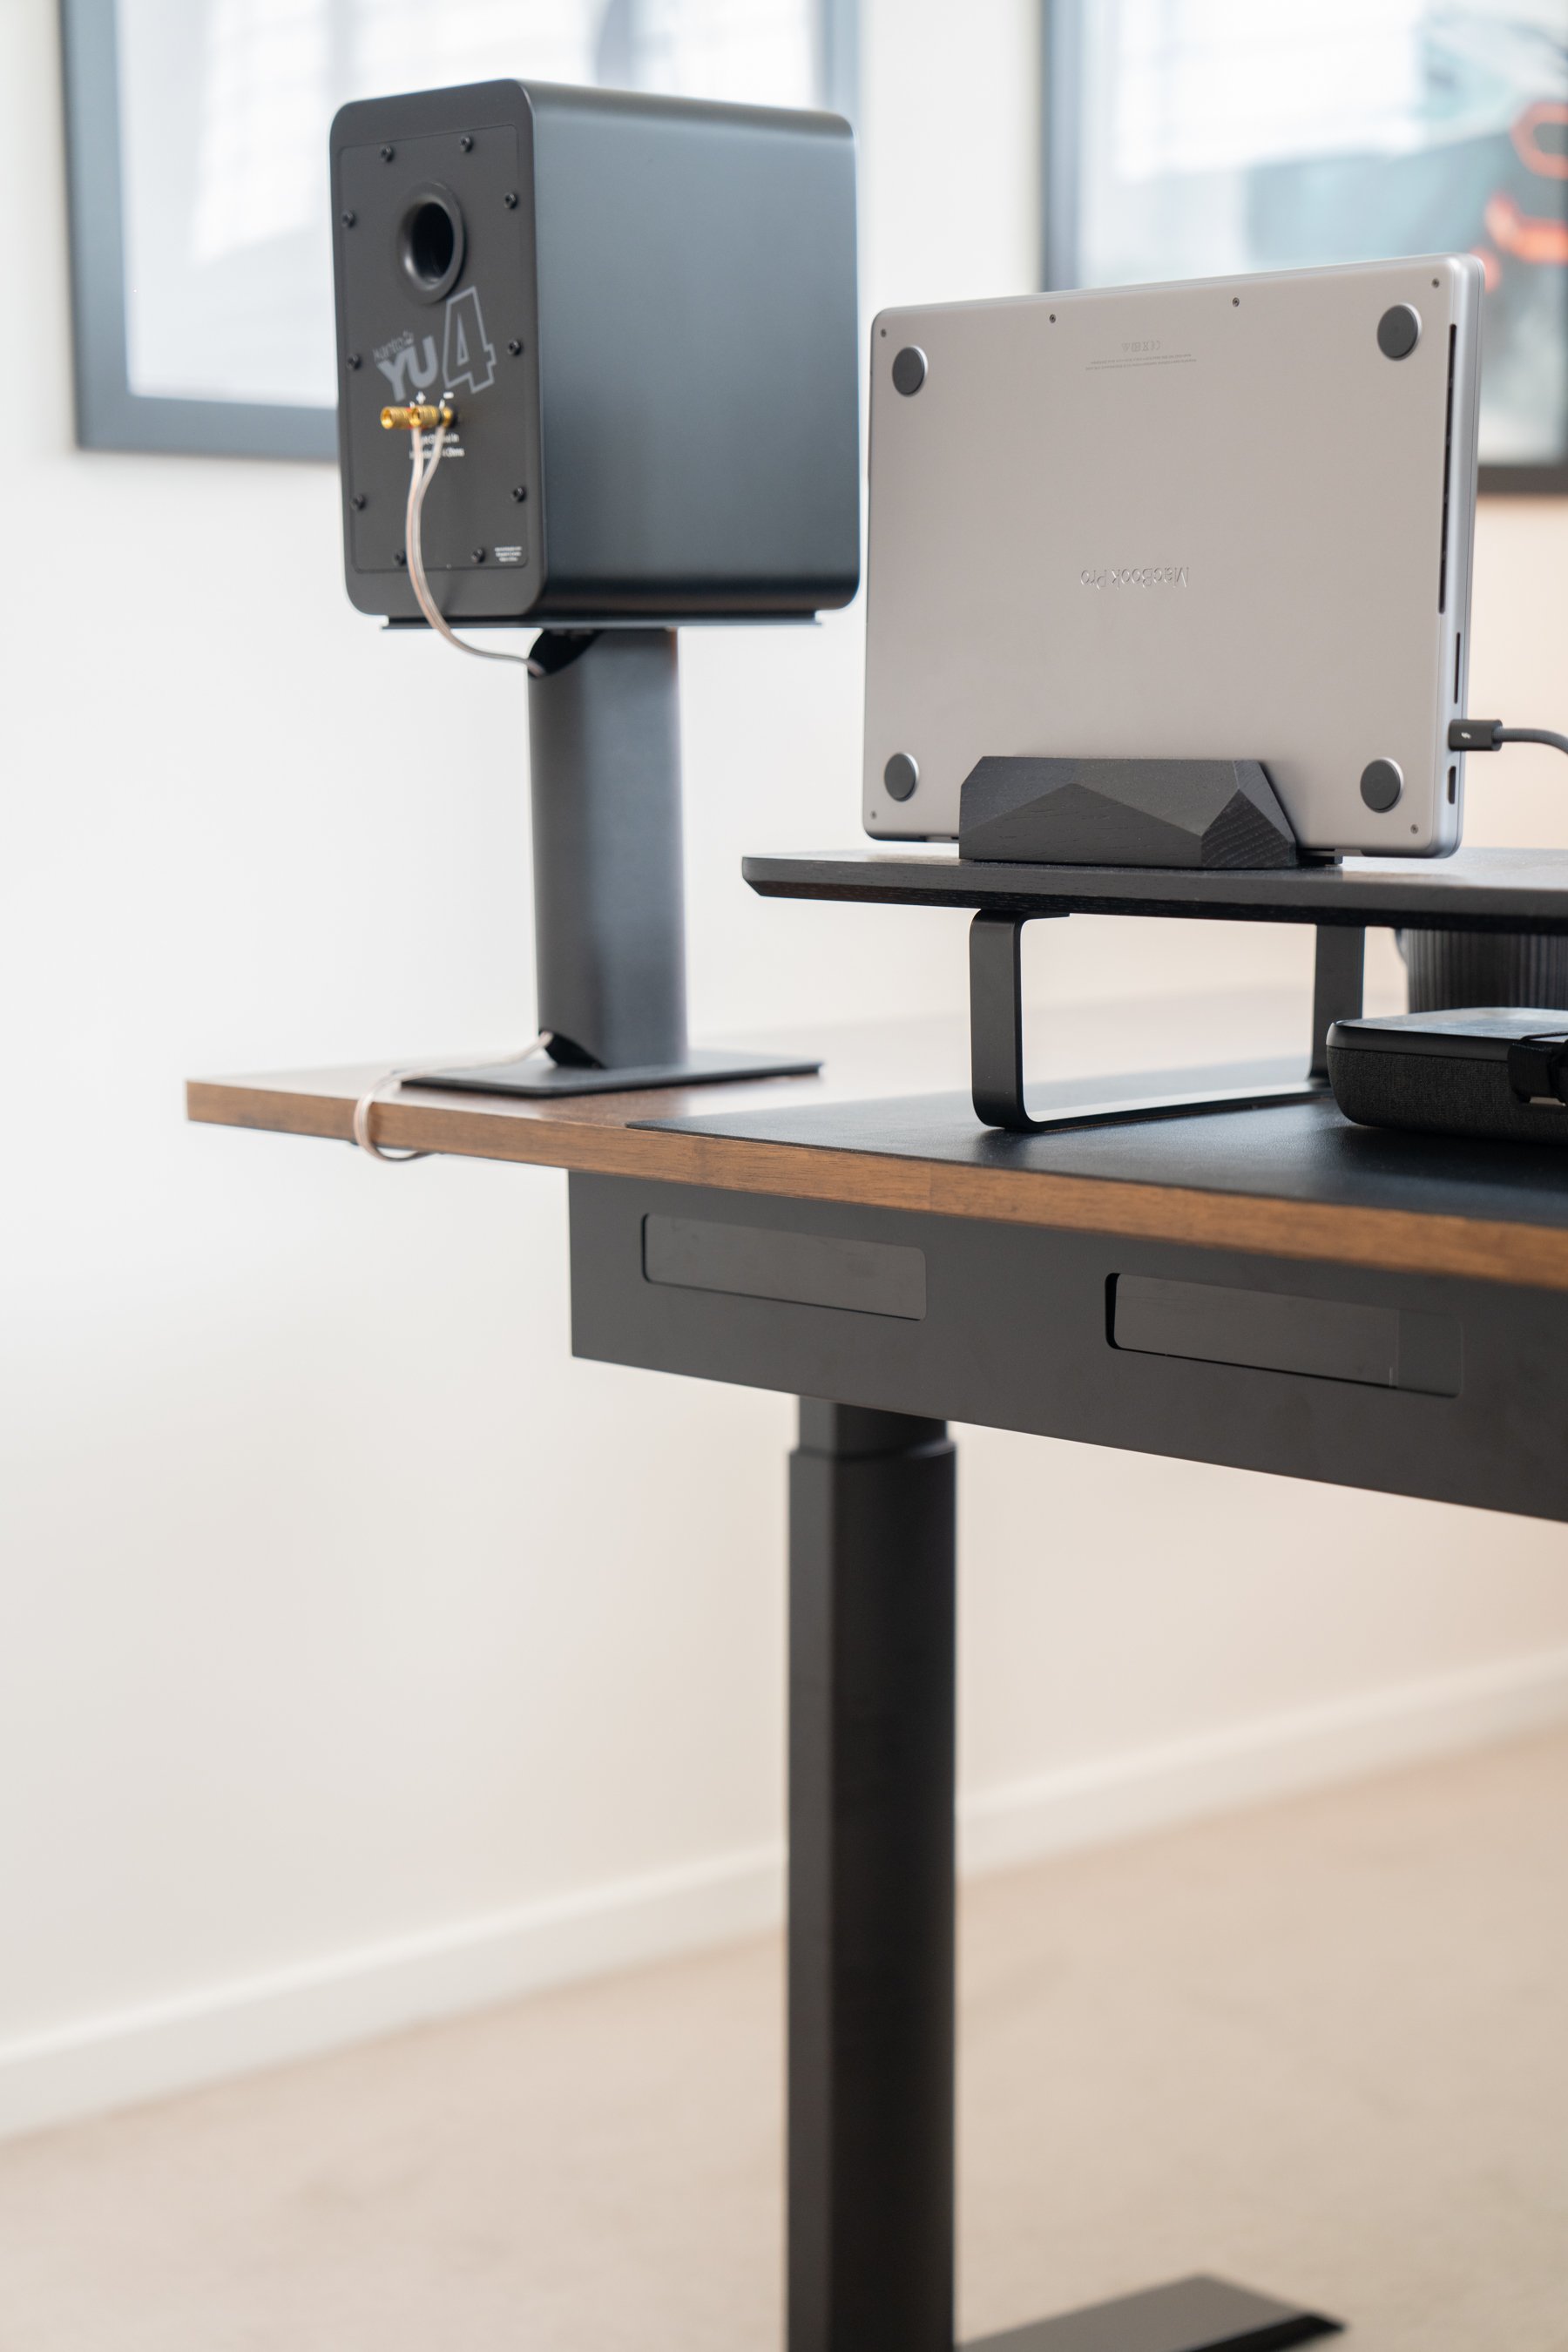
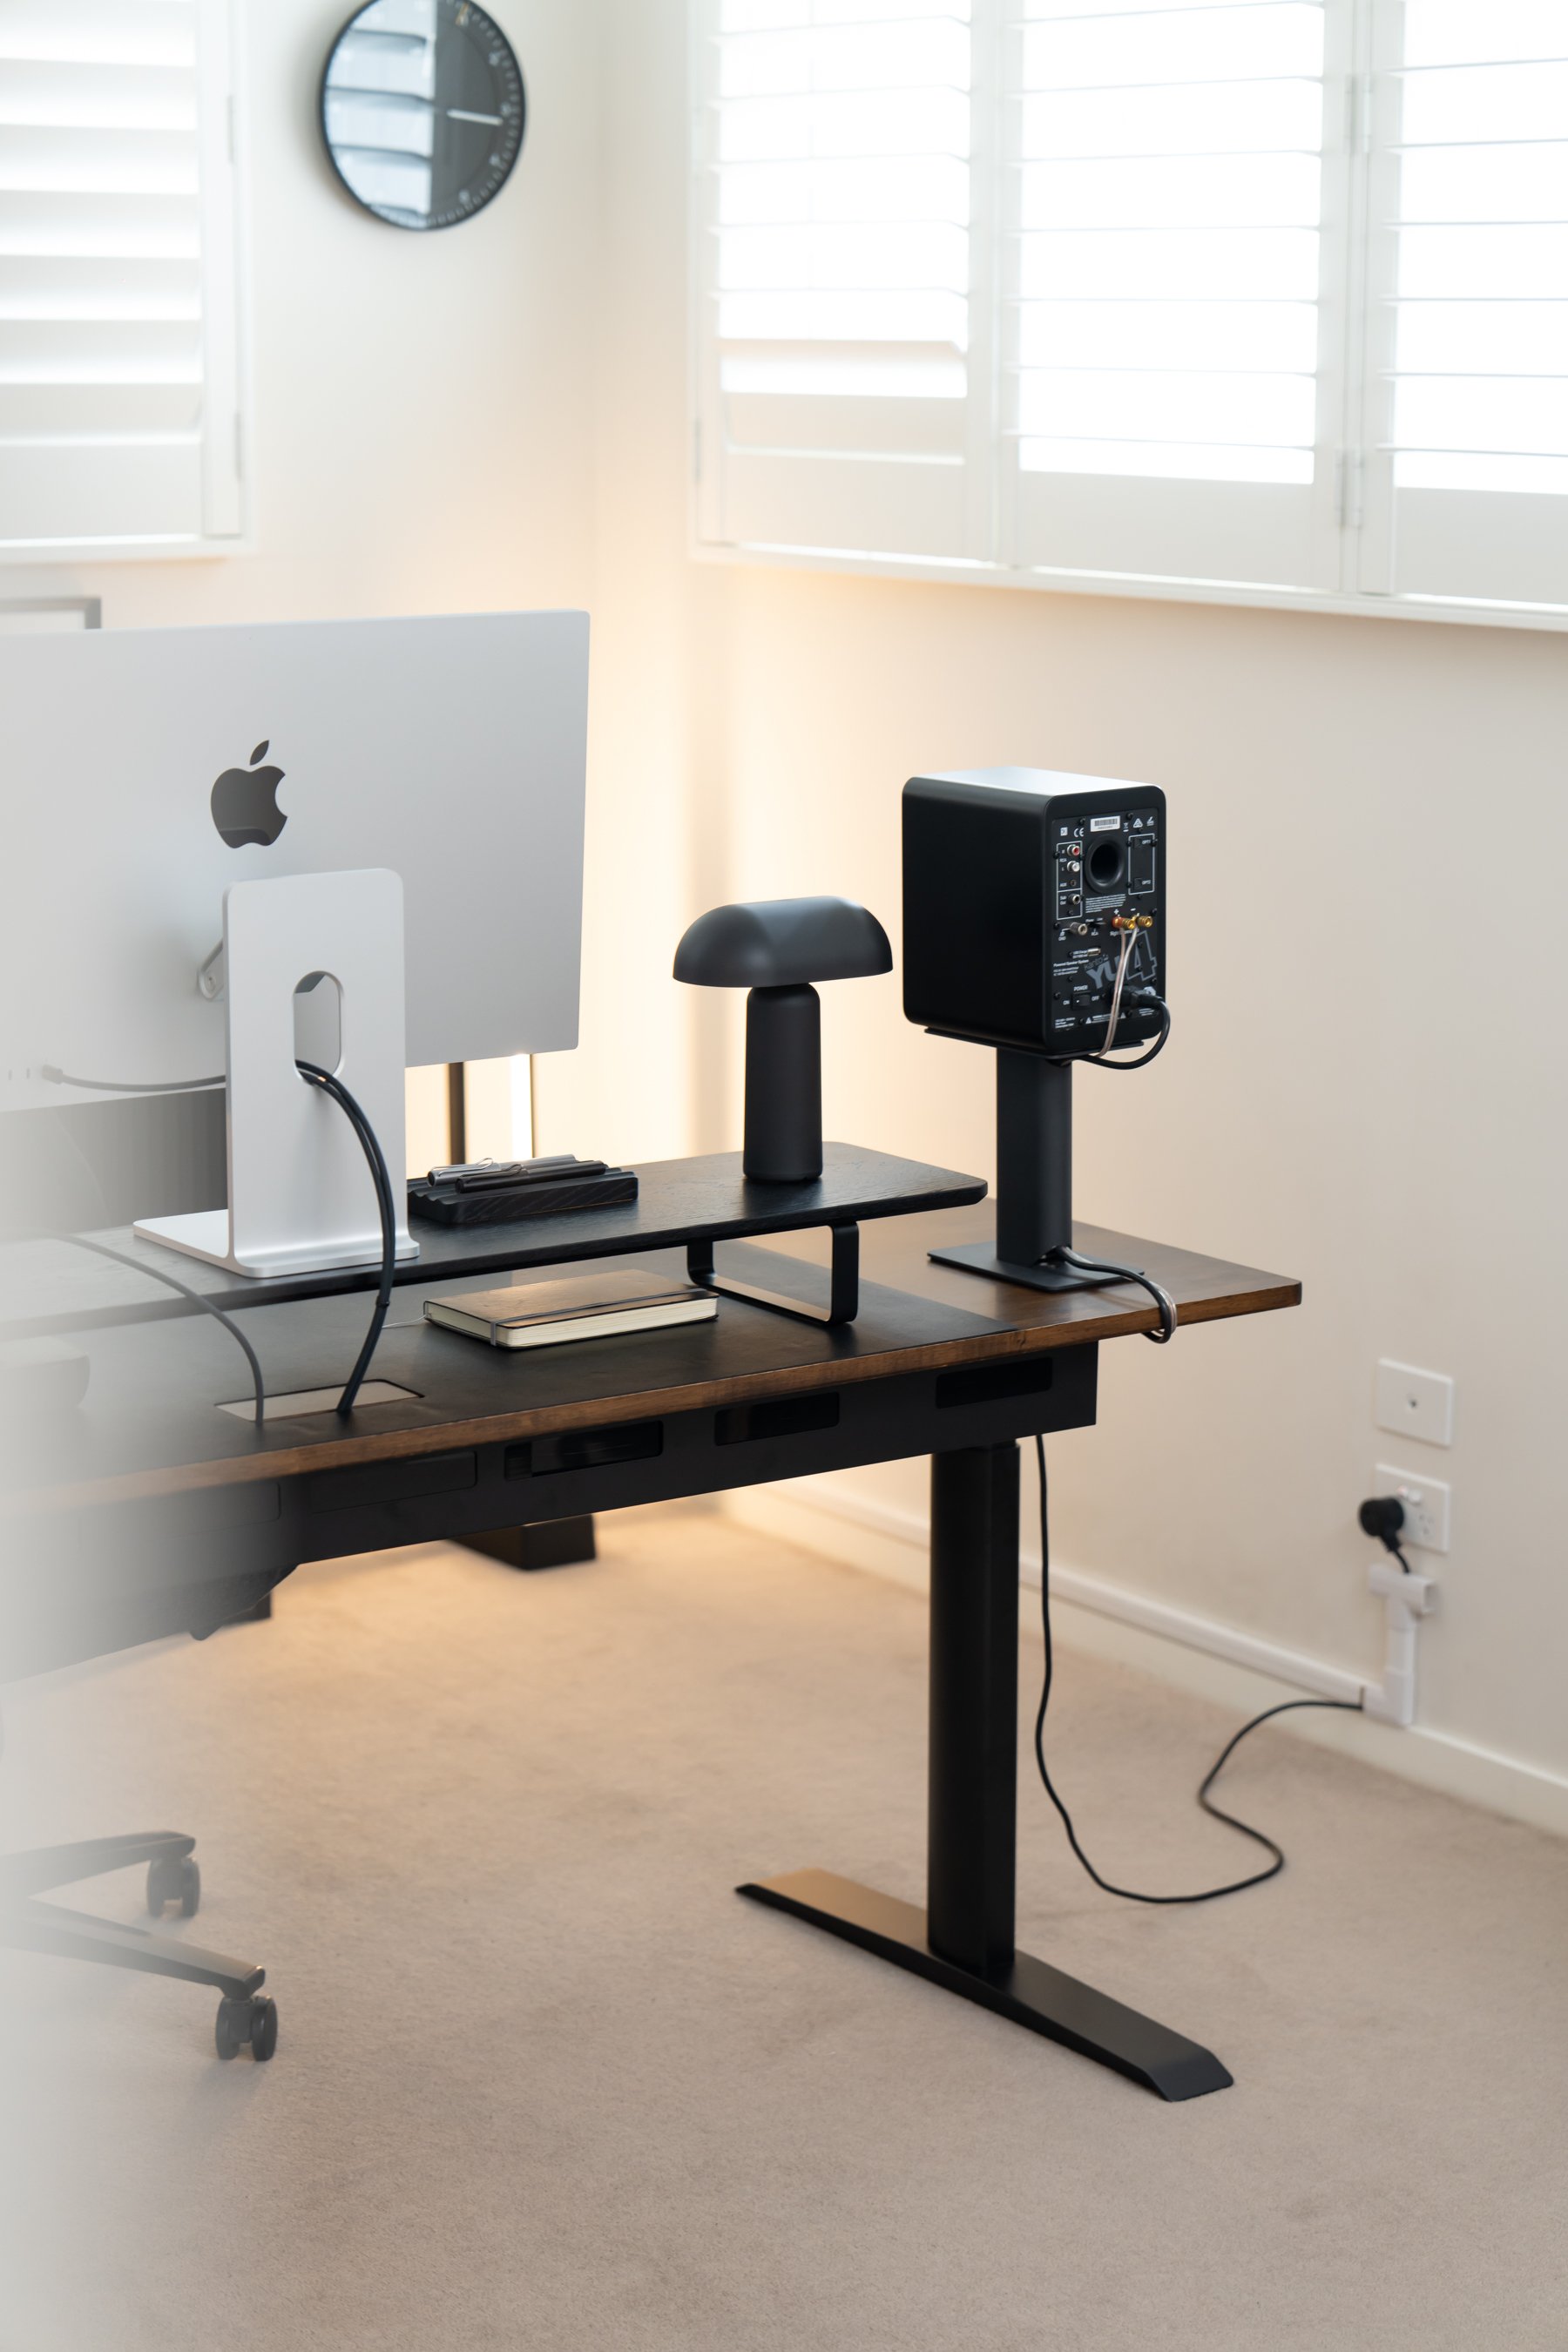
On the left and right hand side of the desk I have kept my Kanto YU4 speakers, ontop of their respective grey speaker stands. The only difference is now I run them via bluetooth, to save the extra optical cable, plus, as the studio display has speakers, I use them less for audio monitoring, and more so for listening to music. When I edit, I typically use headphones, so these are just really nice to have for aesthetics, plus when I want to get a bit more of a kick of what I’m listening too. Using the bluetooth, I can also control the volume output with my keyboard, something I couldn’t do before when plugged in optically.
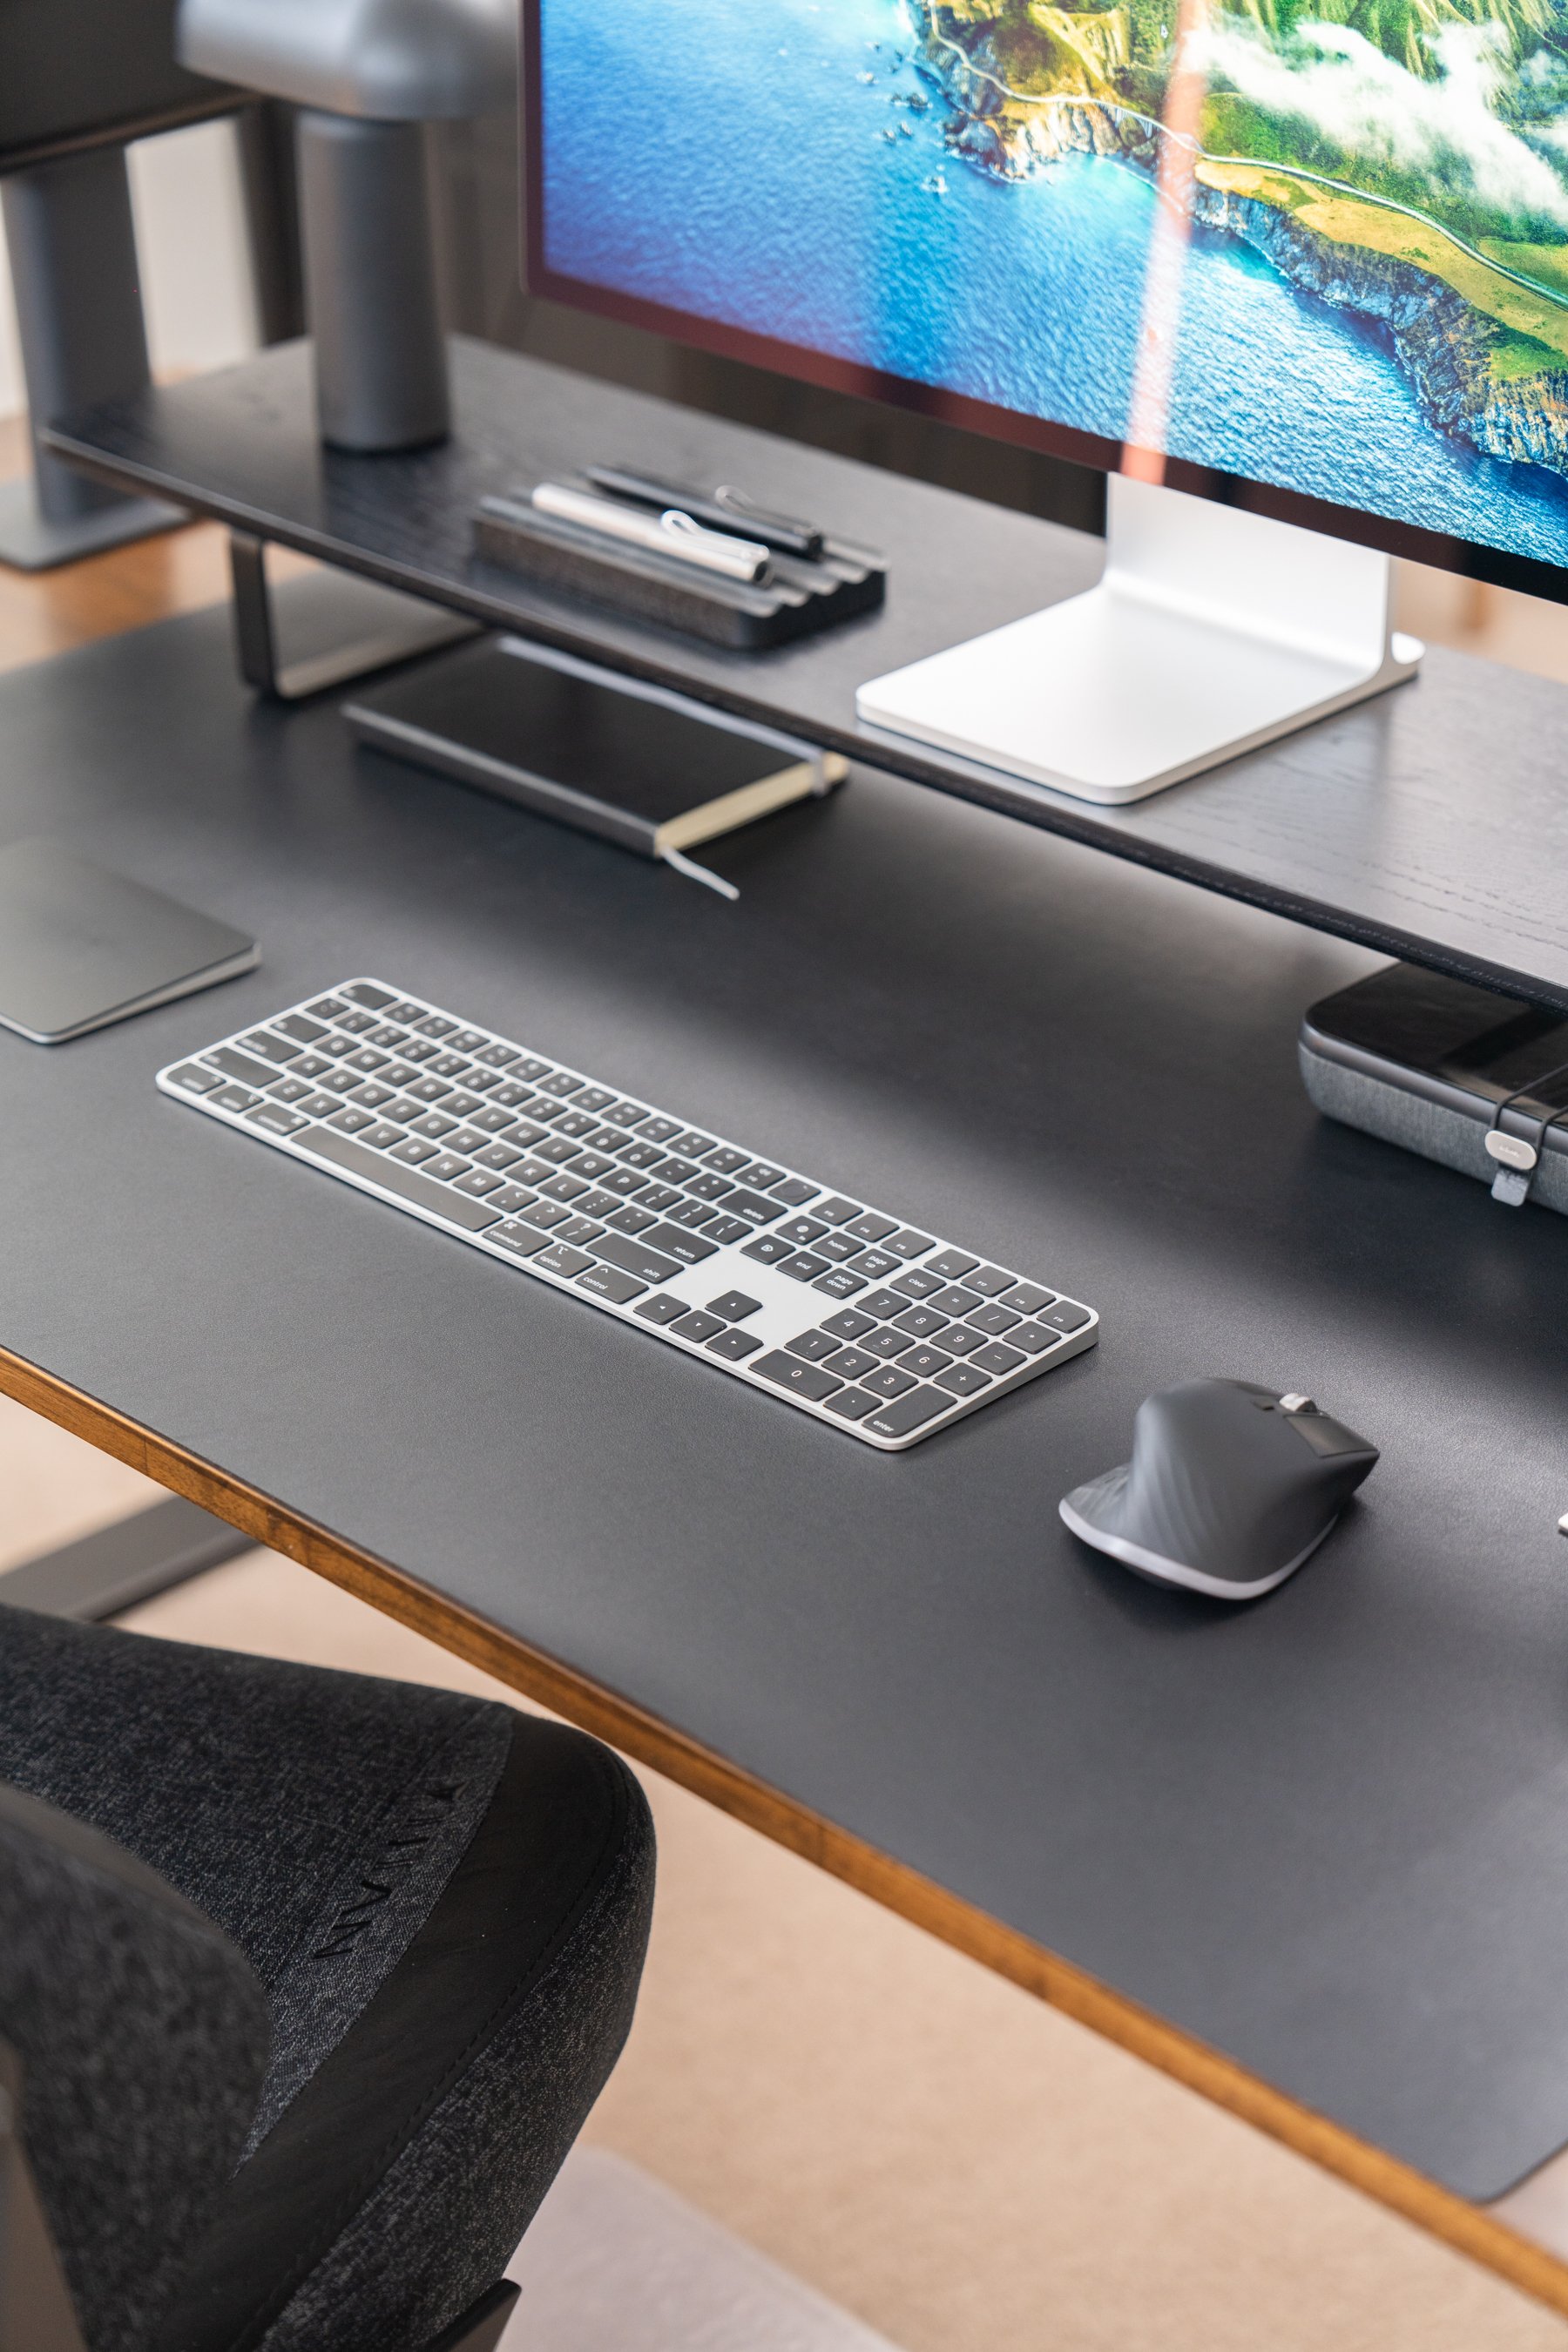
On the Desk itself, I’ve upgraded the the Magic Keyboard with Numpad and Touch ID in black, along with the matching Black Magic Trackpad and Logitech MX Master mouse. The Keyboard was definitely an upgrade for me, as I had been using multiple entry level mechanical keyboards in the past, which I just didn’t like. They ran out of battery, didn’t pair sometimes, but most frustratingly, as the keys were different shapes, compared to my Macbook keyboard, it was hard to get used too, so typos were very plentiful. Now obviously that’s my personal preference, but I must say, having TOUCH ID built into the keyboard is awesome, as having the MacBook closed means I couldn’t use password unlock and apple pay when the lid was shut in the past. Plus the numpad, is very helpful for hotkeys in davinci resolve.
The black trackpad was definitely an aesthetic upgrade, and blends really well on the desk. I mainly use if in editing apps like photoshop and switching between desktops, with the primary mosue input being the Logitech MX mouse on the right, in space grey, which is and always will be, a dream to use. Going back to one of my first setup photos I shared earlier, you can see I was utilising my original Performance MX mouse, and to this date, i’ve been using these logitech mice with no regrets.
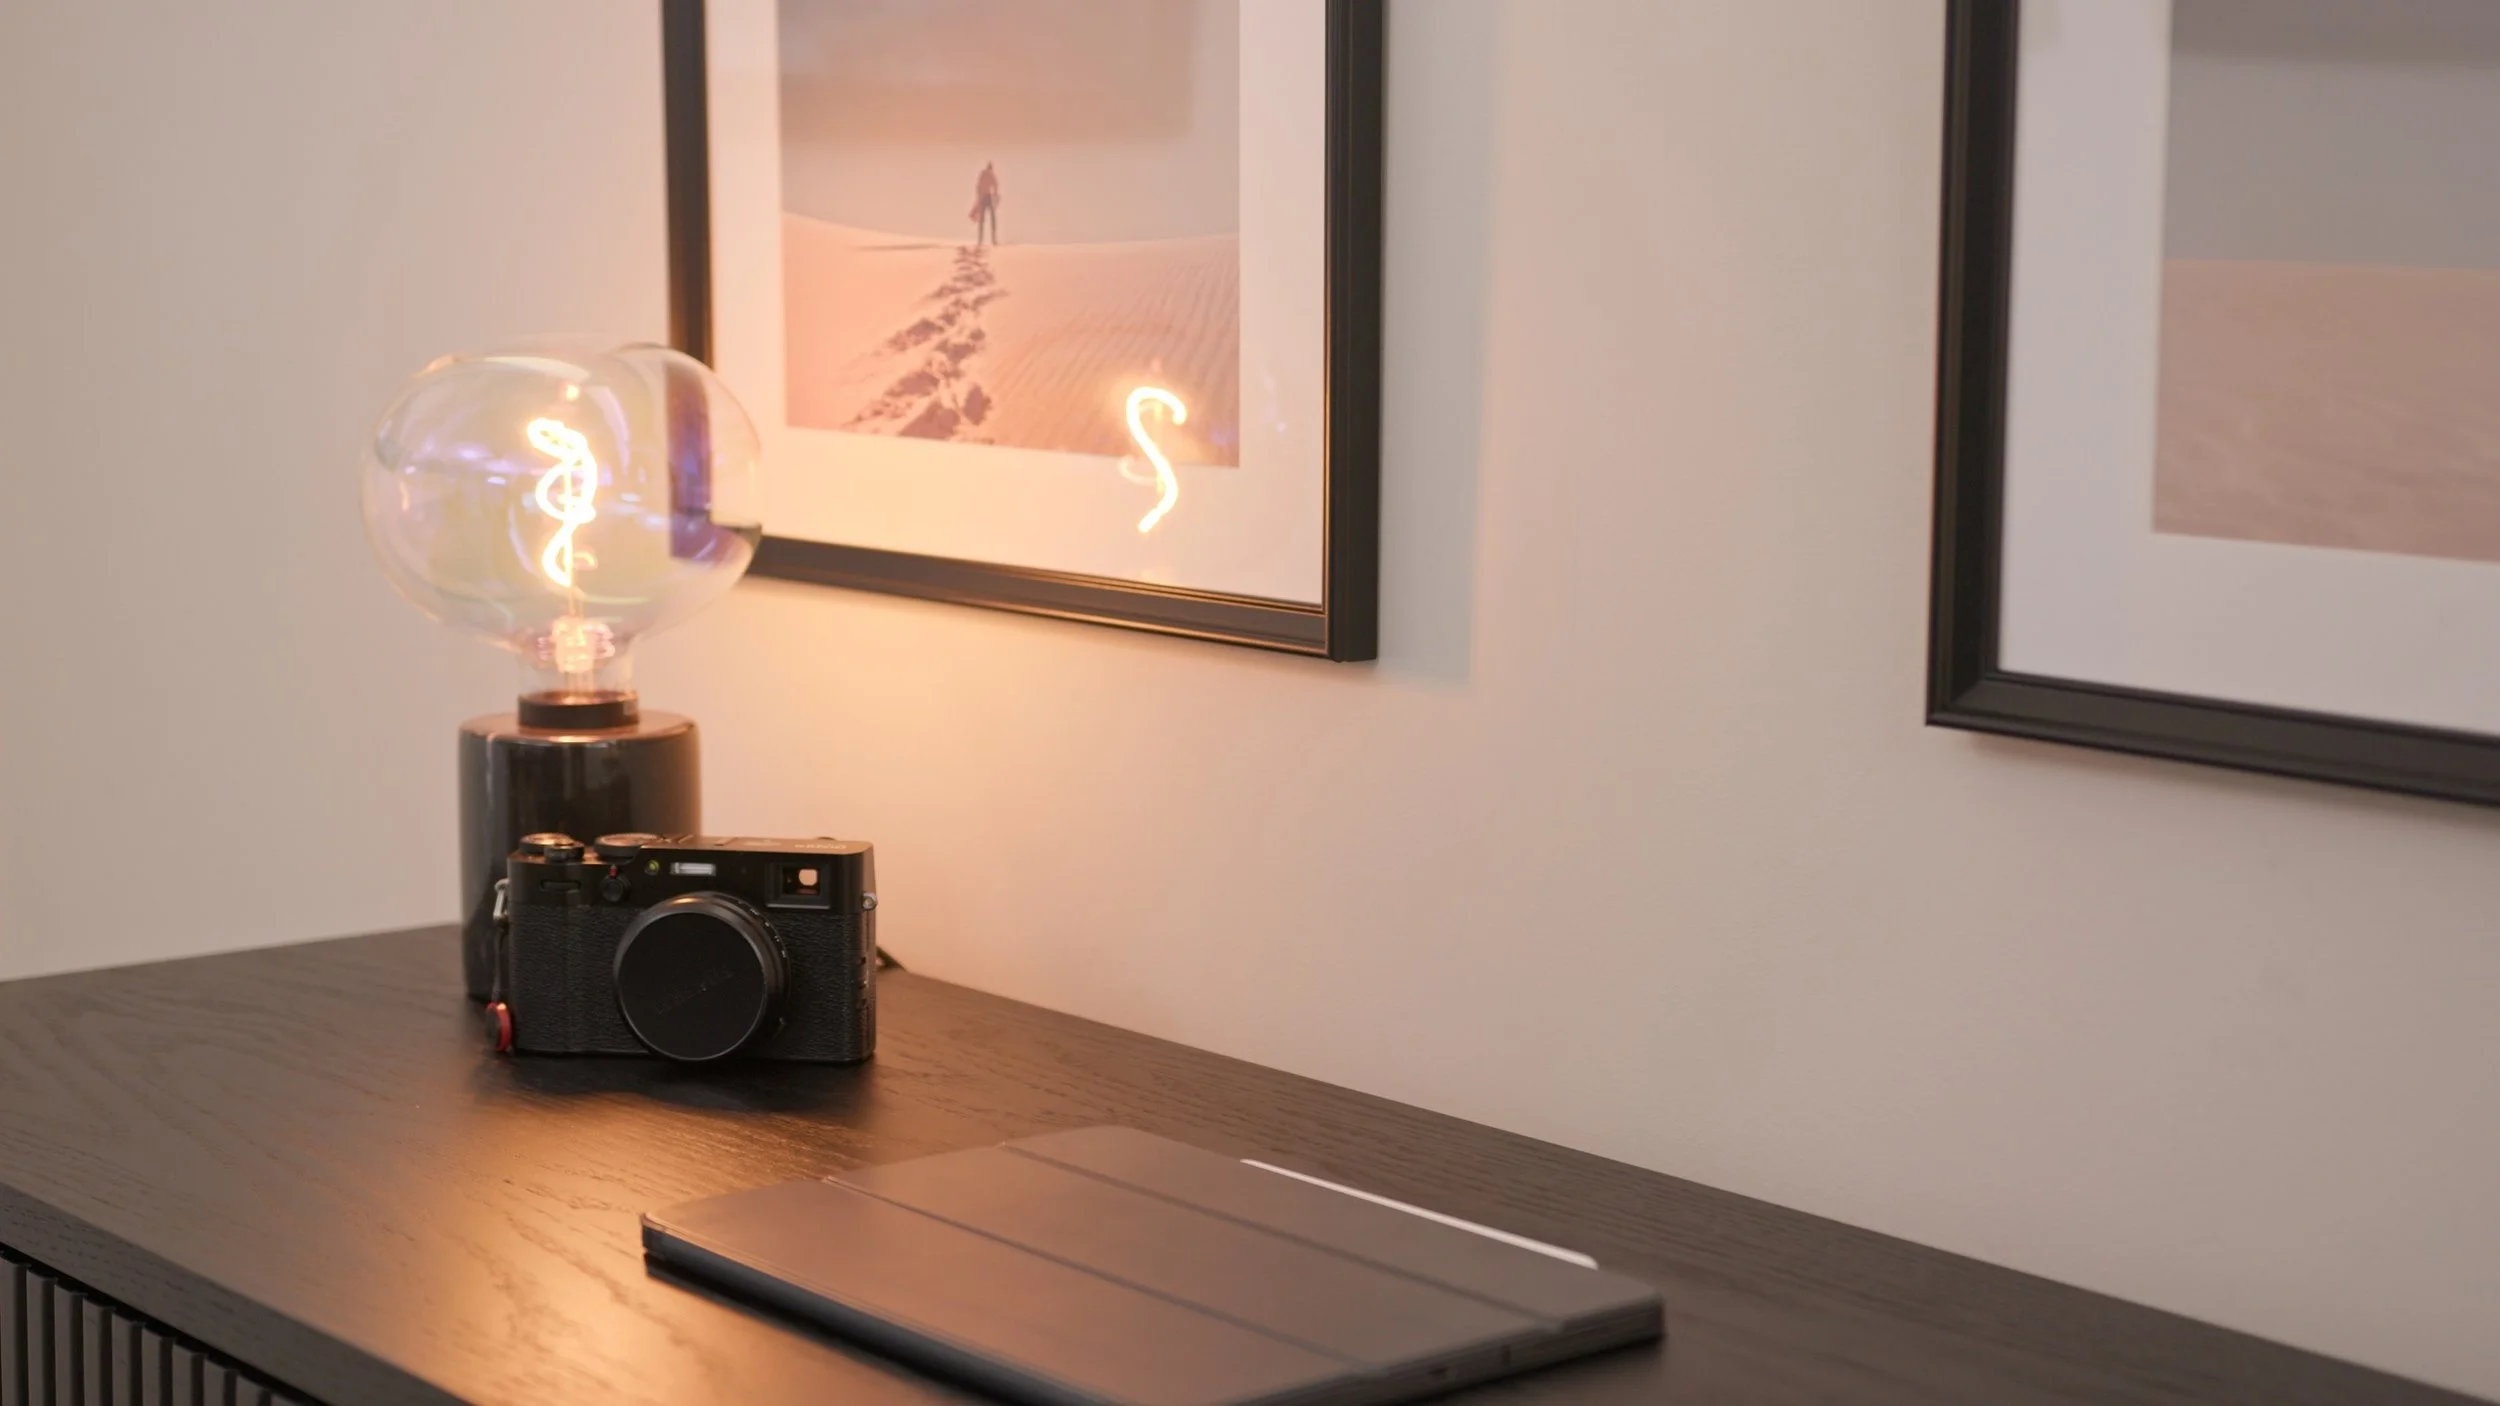
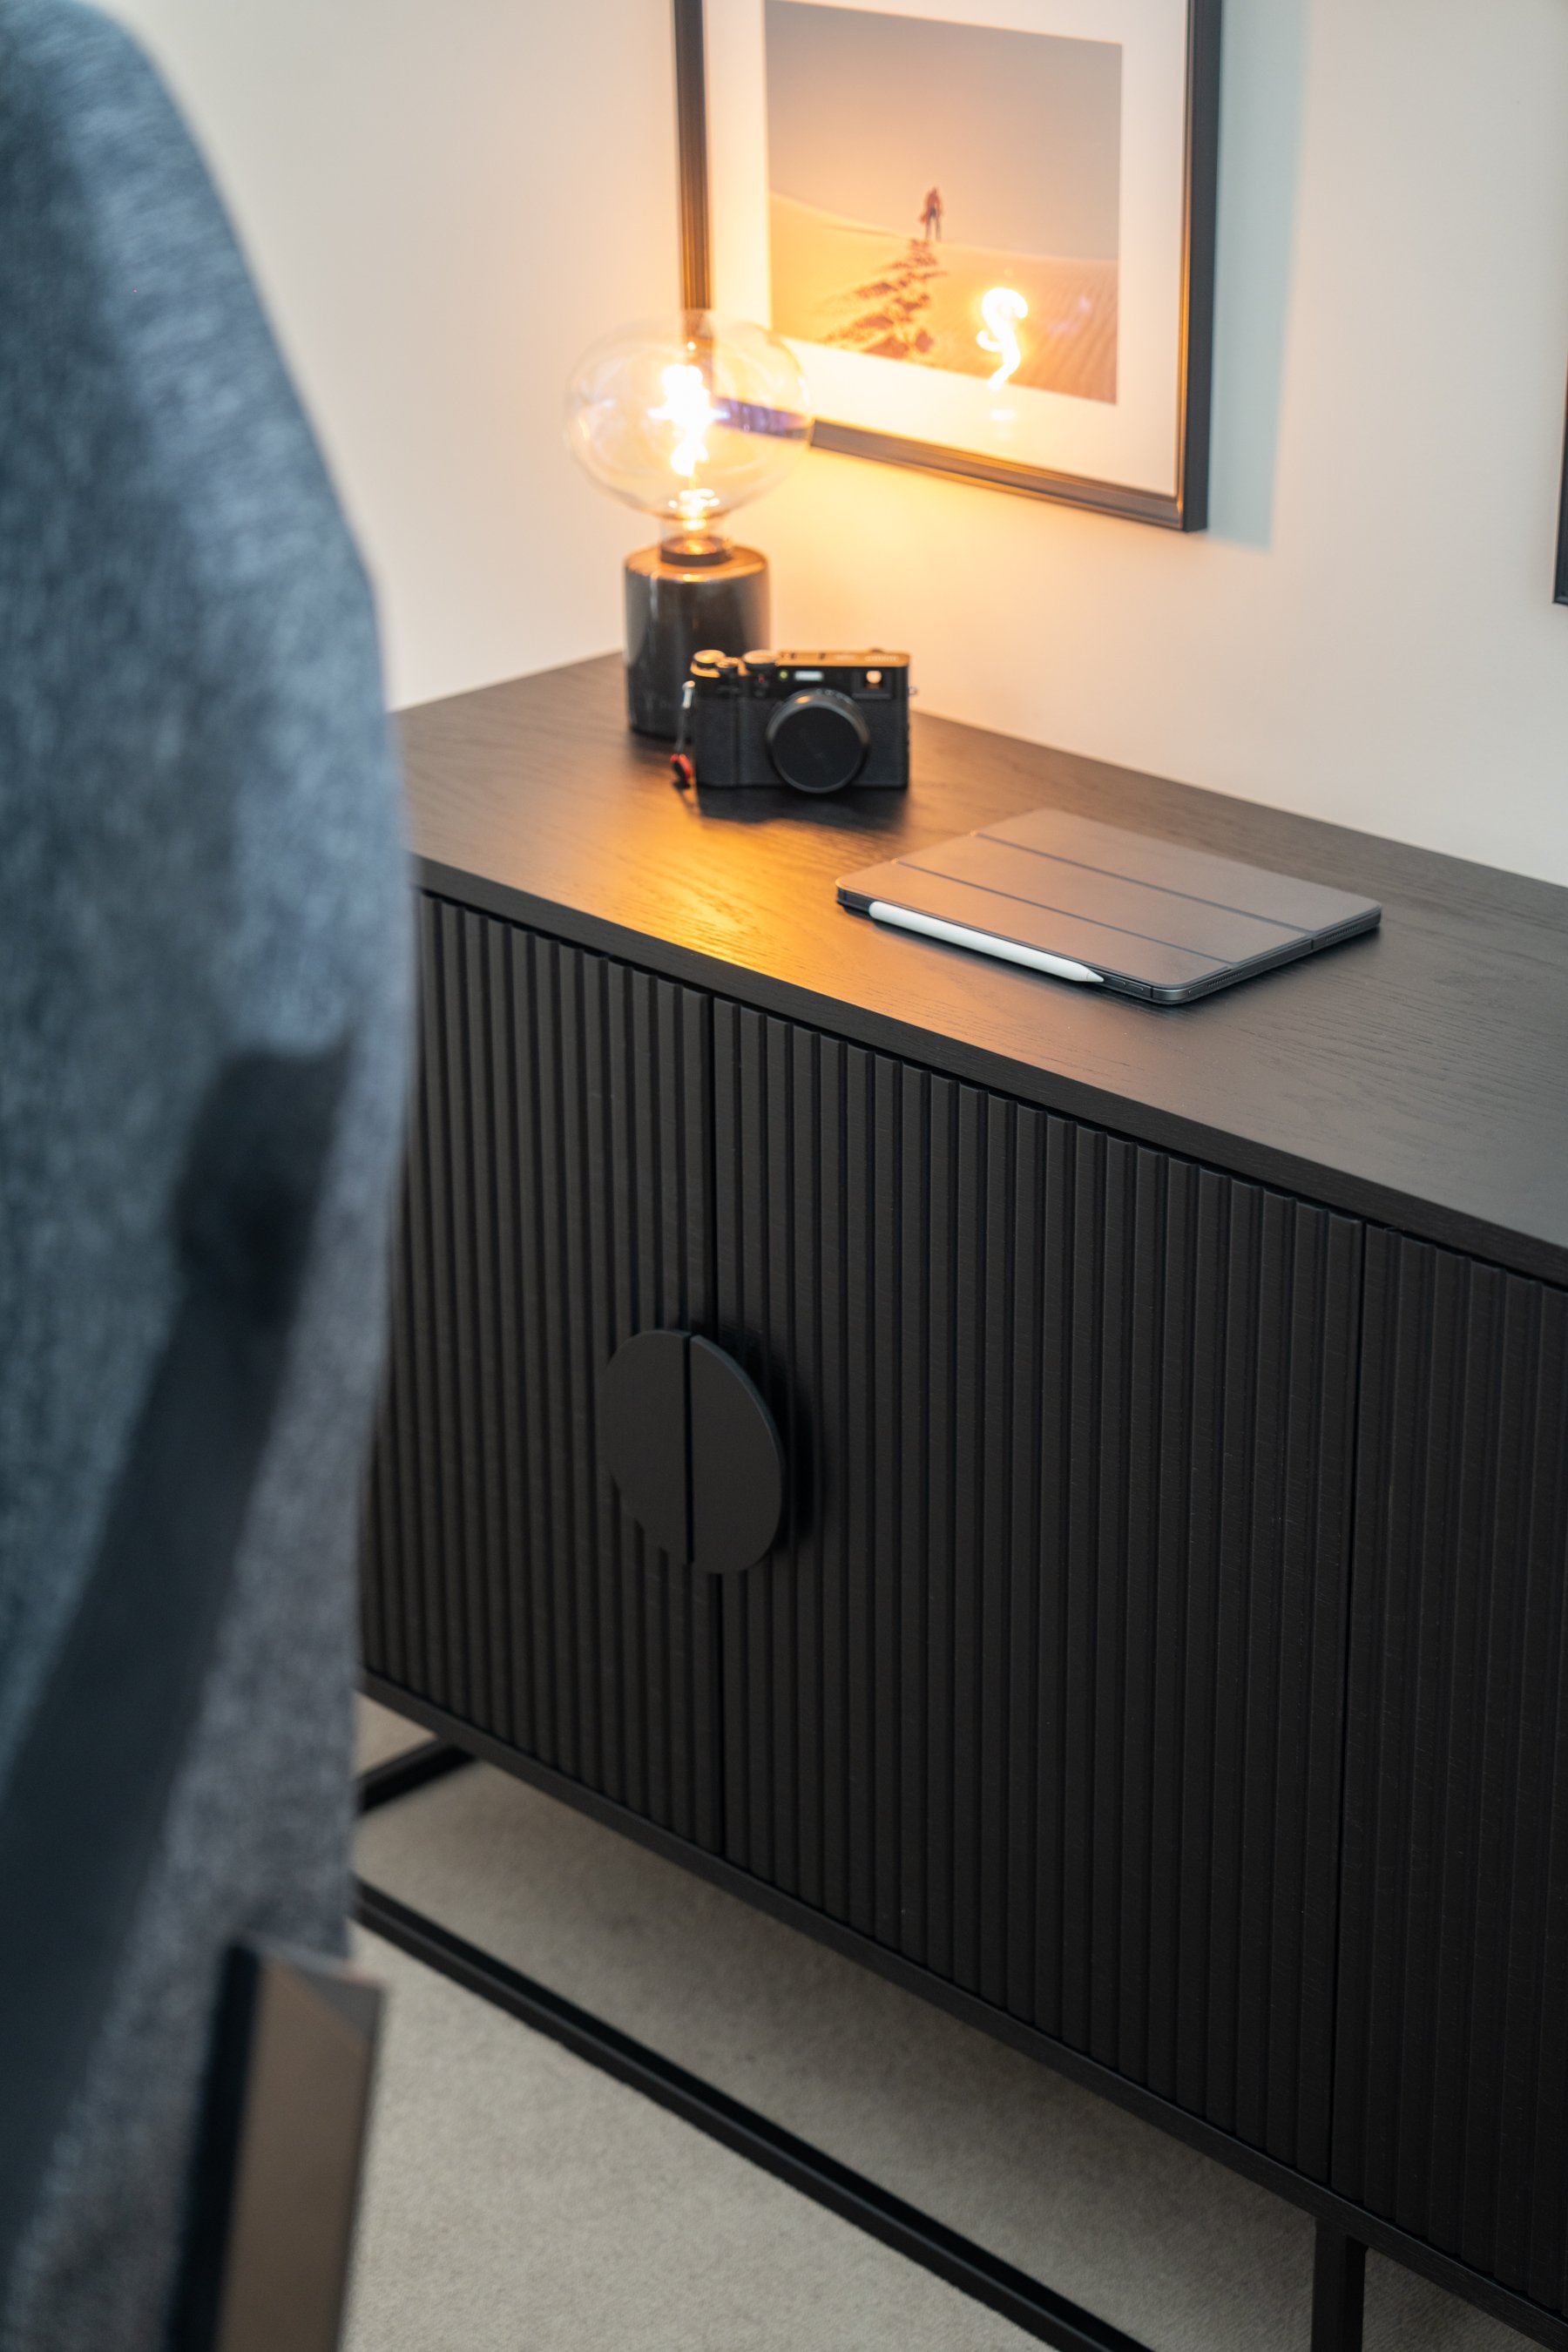
My Fujifilm X100V, paired with the Markfrost Lamp, sitting ontop of the Braxton Buffet Unit by L3 Home behind the desk.
Like every workspace too, there’s always a spot for your favourite beverage, I don’t drink coffee, but love my teas, and every morning without fail, and admittedly up to 6 times a day, I fill up this black mug, which is called the Bloomingvile Neri Ceramic Mug, with some tea, that always, warms up the heart and mind, and say they say.
Lastly on the desk, I also house my own Orbitkey Nest, which stores all of my EDC tech essentials, such as drives, cables and storage, I take with me on the go. I made a video showcasing some of my favourite items I store in the Nest, and how I utilise it, so if you have the time, feel free to have a watch in the pop out banner, or in the link below. I have the black colour personally from work, and it matches the whole aesthetic really nicely.
Part 5: Furniture and Lighting
As quite often I find myself working quite late into the night, which is why lighting is super important in the space. In addition to the lamp on the desk, I also keep a few lights around the space, including the famous Hektar Light from Ikea, the Markfrost base lamp behind the desk, which I only turn on when I’m just relaxing in the space, and the Pilskott floor lamp from Ikea, which is genouenly one of my favourite pieces in the whole space, as it looks like it came straight out of Dune or a sci-fi show, without being too over the top.
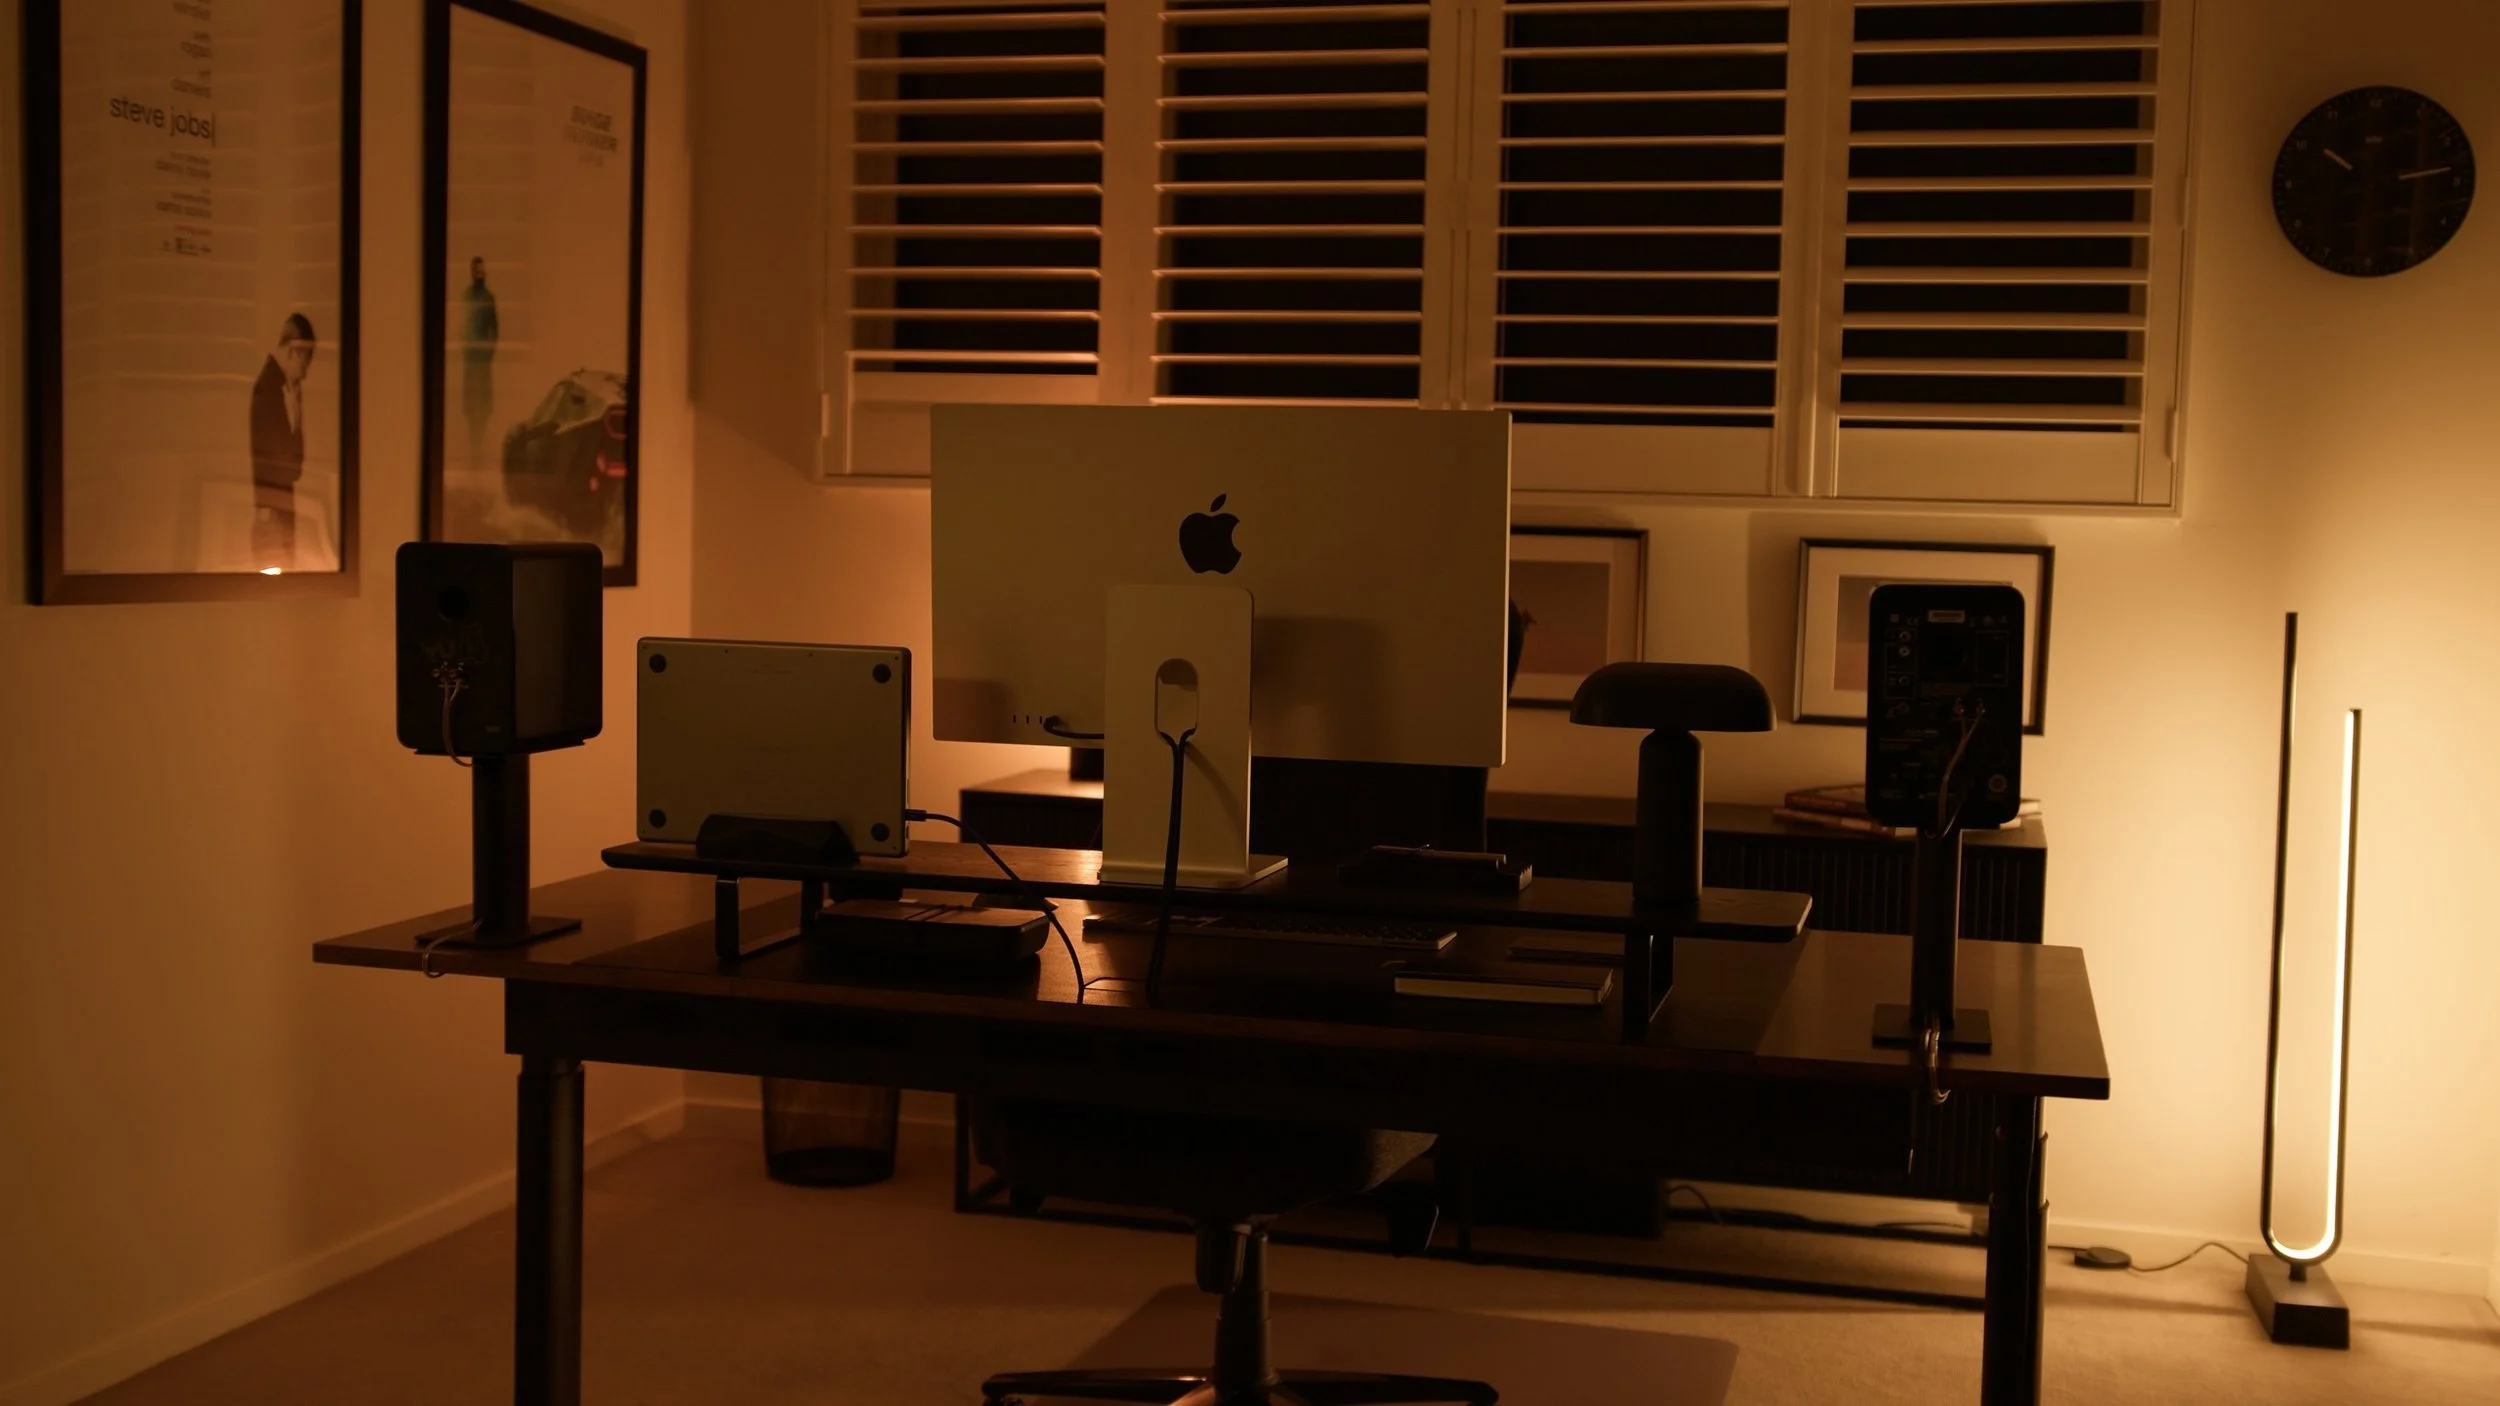
The Desk Setup Late at Night.
Conclusion:
In the near future, I’ll do a more in depth office tour showcasing all of the rest of the furniture and organisation I’ve done in the space, to make this home office, really my own, which I think is so important when considering designing your own creative space. In the meantime if you have any questions about my desk setup, please let me know in the comments below, I’ll be sure to link all the products too in the description, if you’re interested in checking those out. In addition to the office tour coming soon, I’m looking forward to sharing my extended thoughts on the Studio Display, so do stay tuned for that.
Watch the Full Video Here: